> ## Documentation Index
> Fetch the complete documentation index at: https://help.scribe-mail.com/llms.txt
> Use this file to discover all available pages before exploring further.
# SalesLoft
> Set up Scribe email signatures in Salesloft: connect the integration as an admin, then each teammate inserts their own signature from Salesloft settings.
**Each teammate inserts their own signature.** After you connect the integration, every teammate adds their signature from their Salesloft settings. Users see signatures when composing emails. Cloud-based installation: emails don't go through Scribe servers.
**Supported platforms:** Web
## Installation guide
* You must be an **Admin in Salesloft** to install the Salesloft integration.
* Each teammate has to insert their signature in the Salesloft settings.
Click **Connect SalesLoft** in Scribe to start the integration.
 If you are already logged in, this step will be skipped.
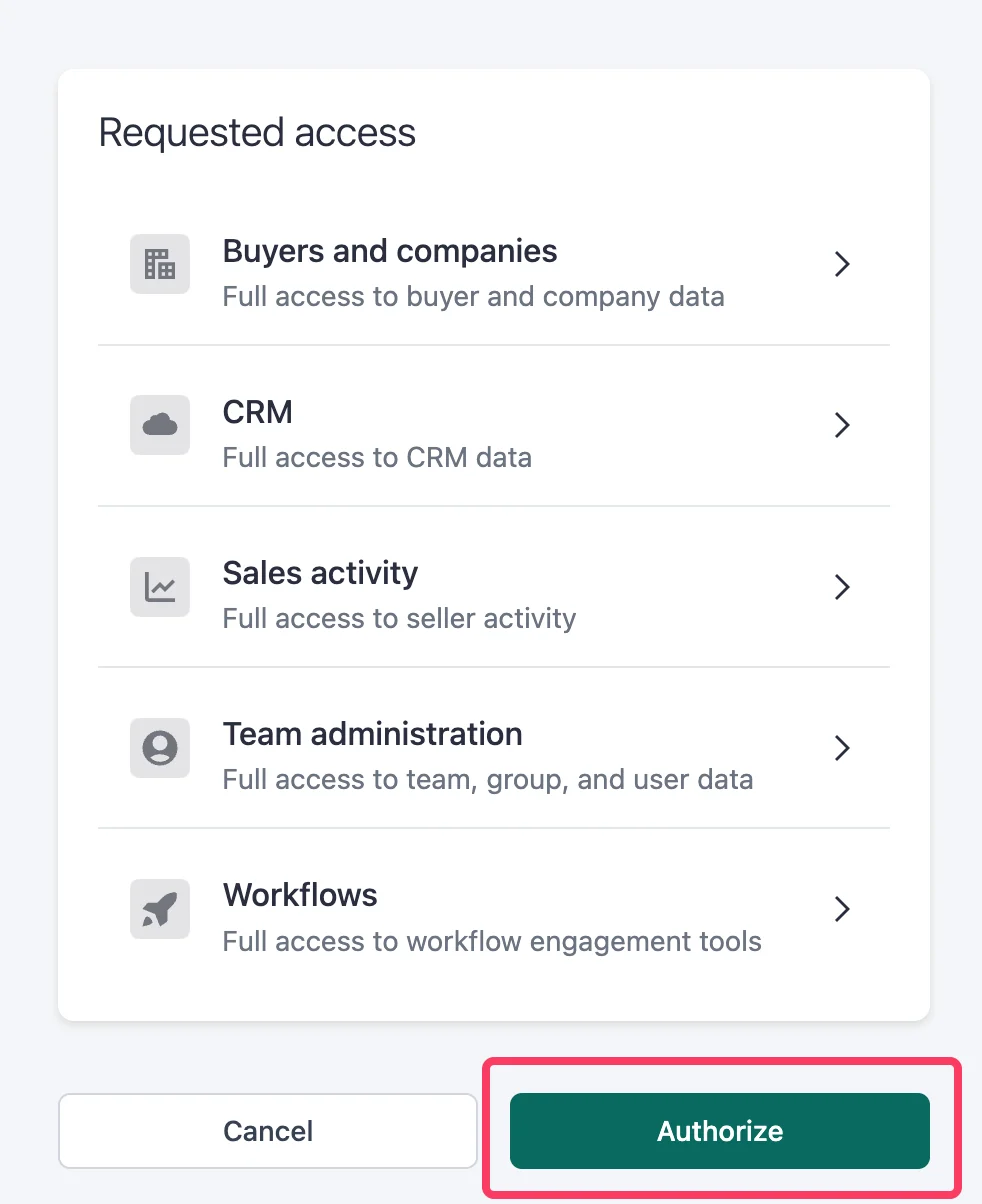
 Once you authorize, the integration connects automatically.
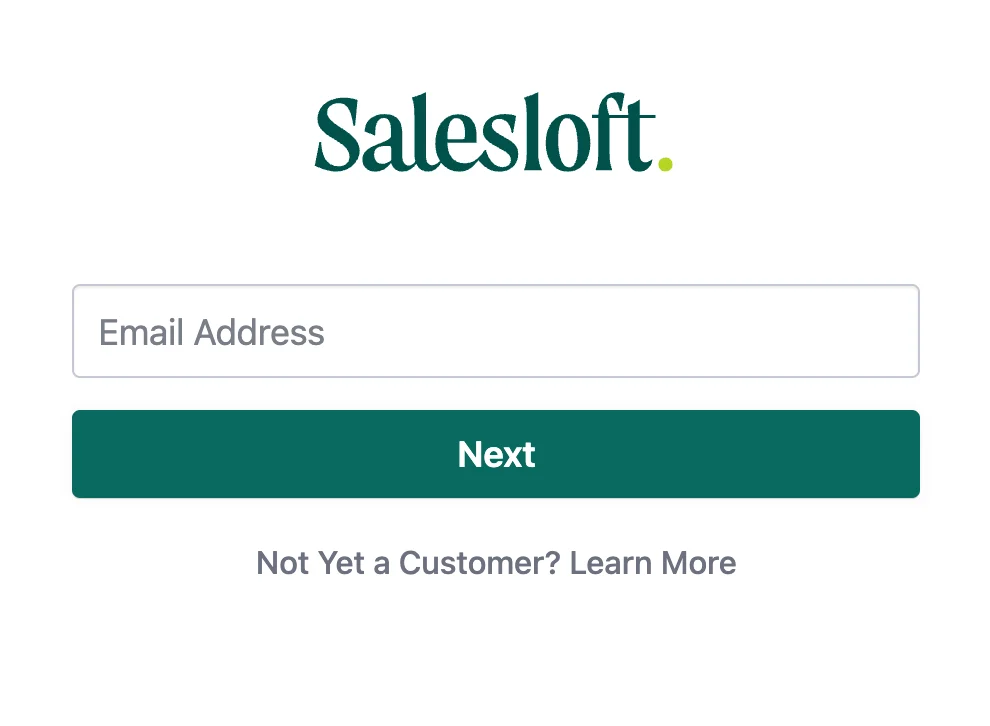
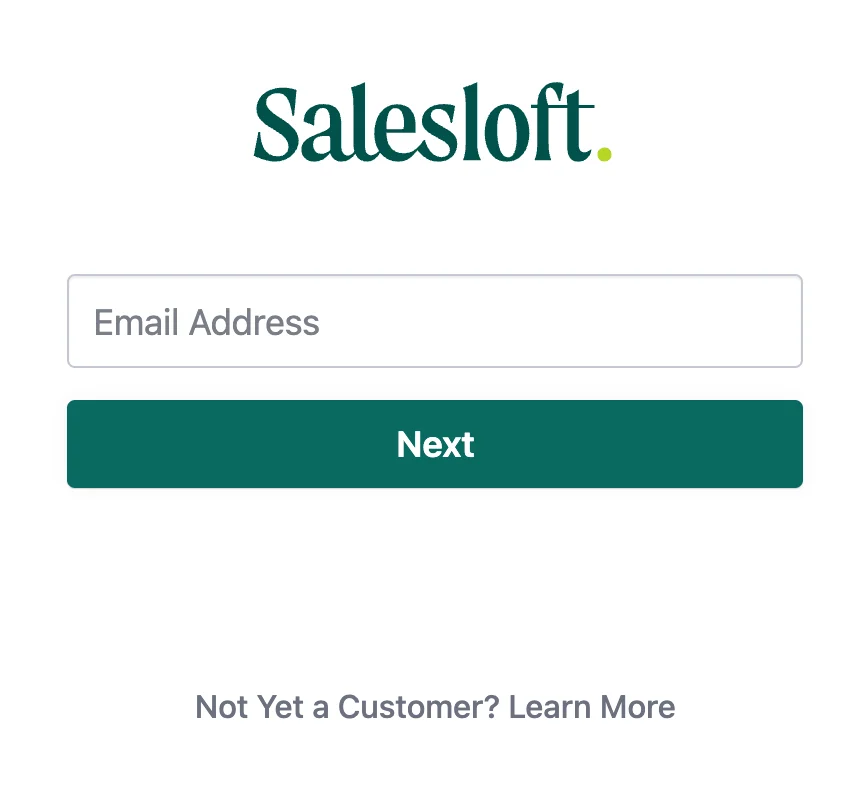
 Go to the [Salesloft sign-in page](https://accounts.salesloft.com/sign_in) and sign in with your email and password.
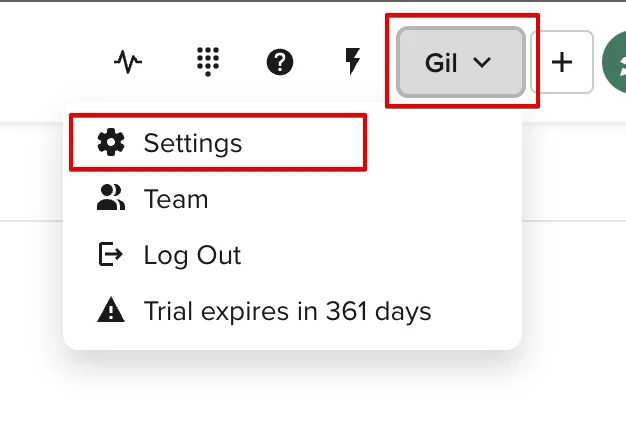
 Navigate to your SalesLoft account, click on your name, and select "Settings".
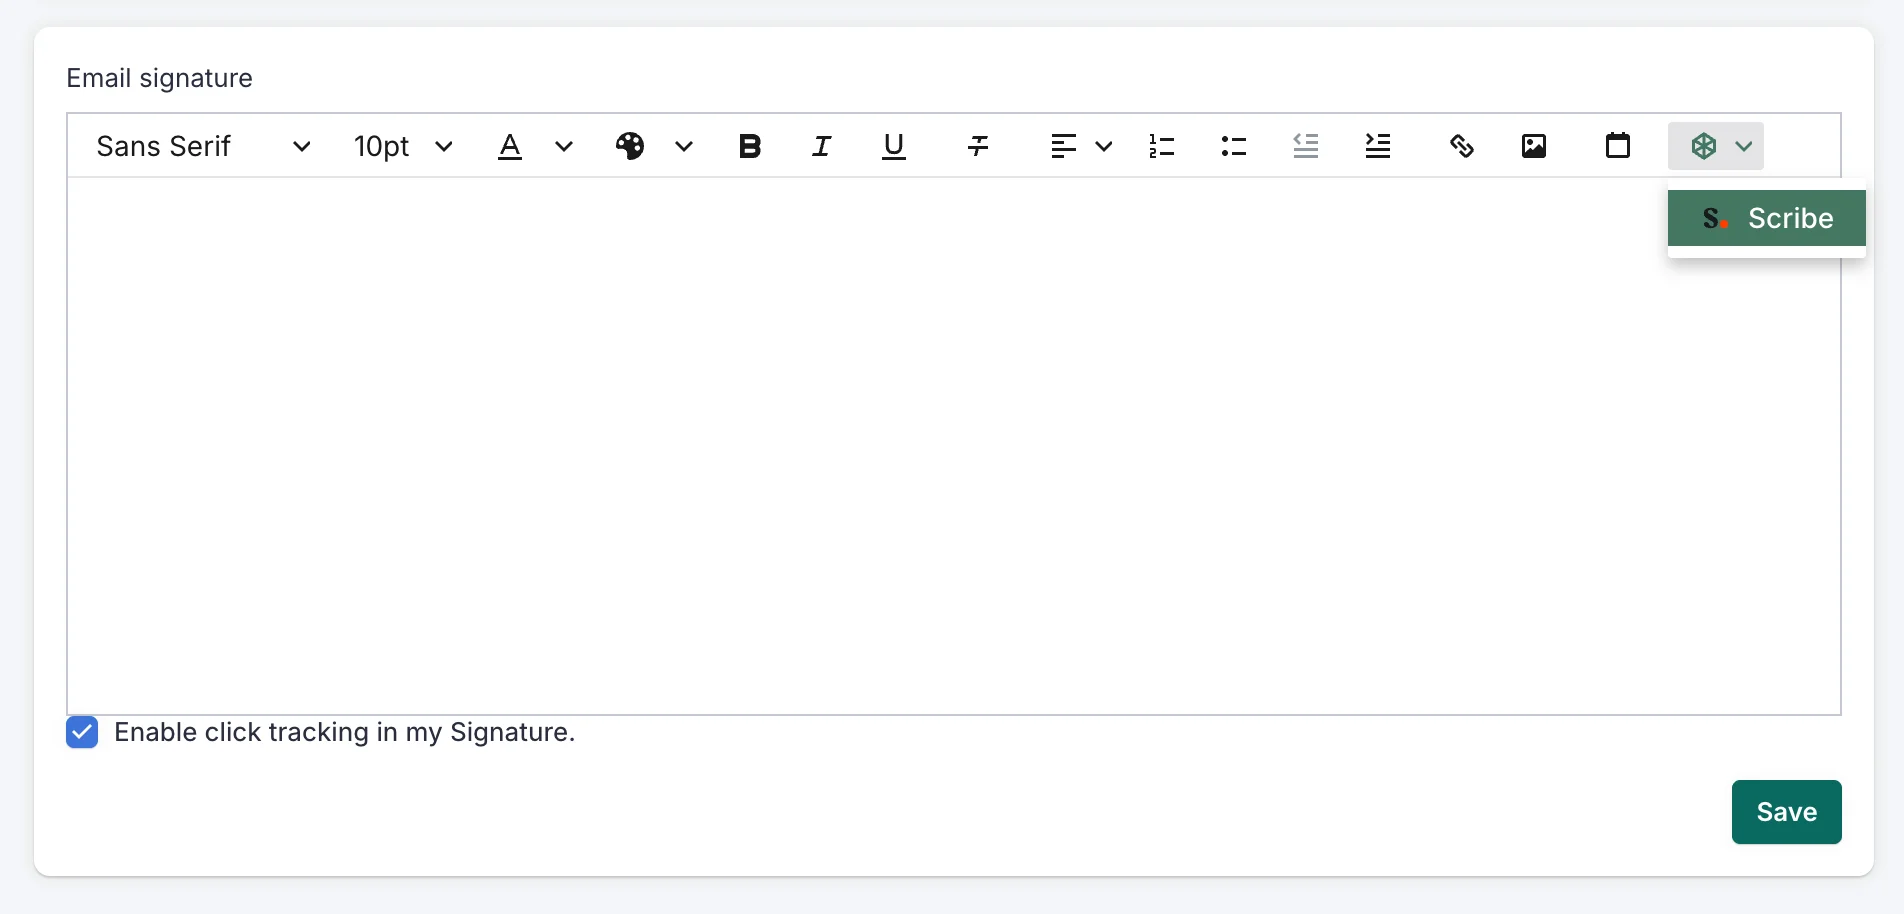
 In the Email Signature section, open the Scribe Modal.
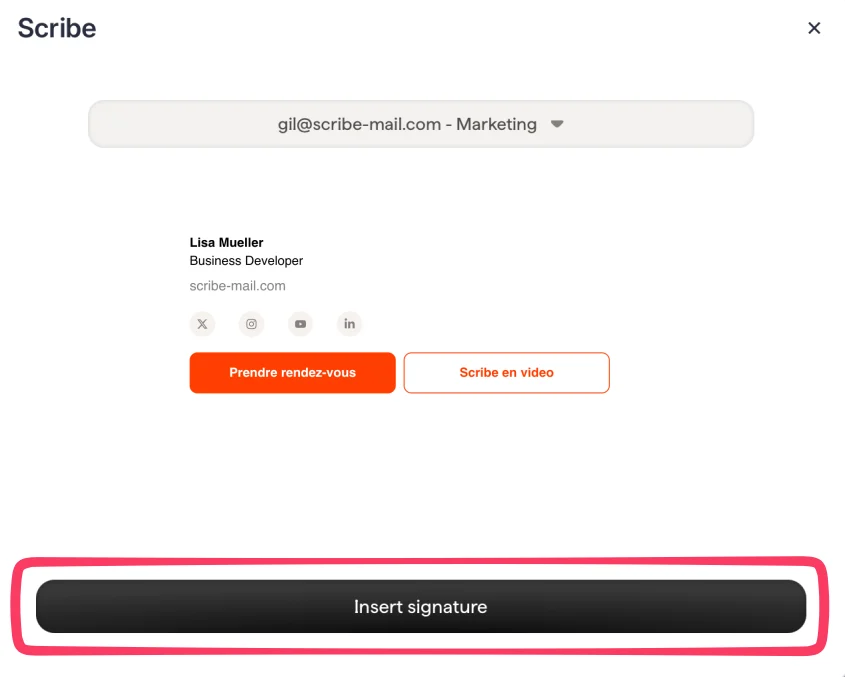
 Choose the email you want and click "Insert signature". Note that each of your teammates would have to go to their SalesLoft settings to click on "Insert signature".
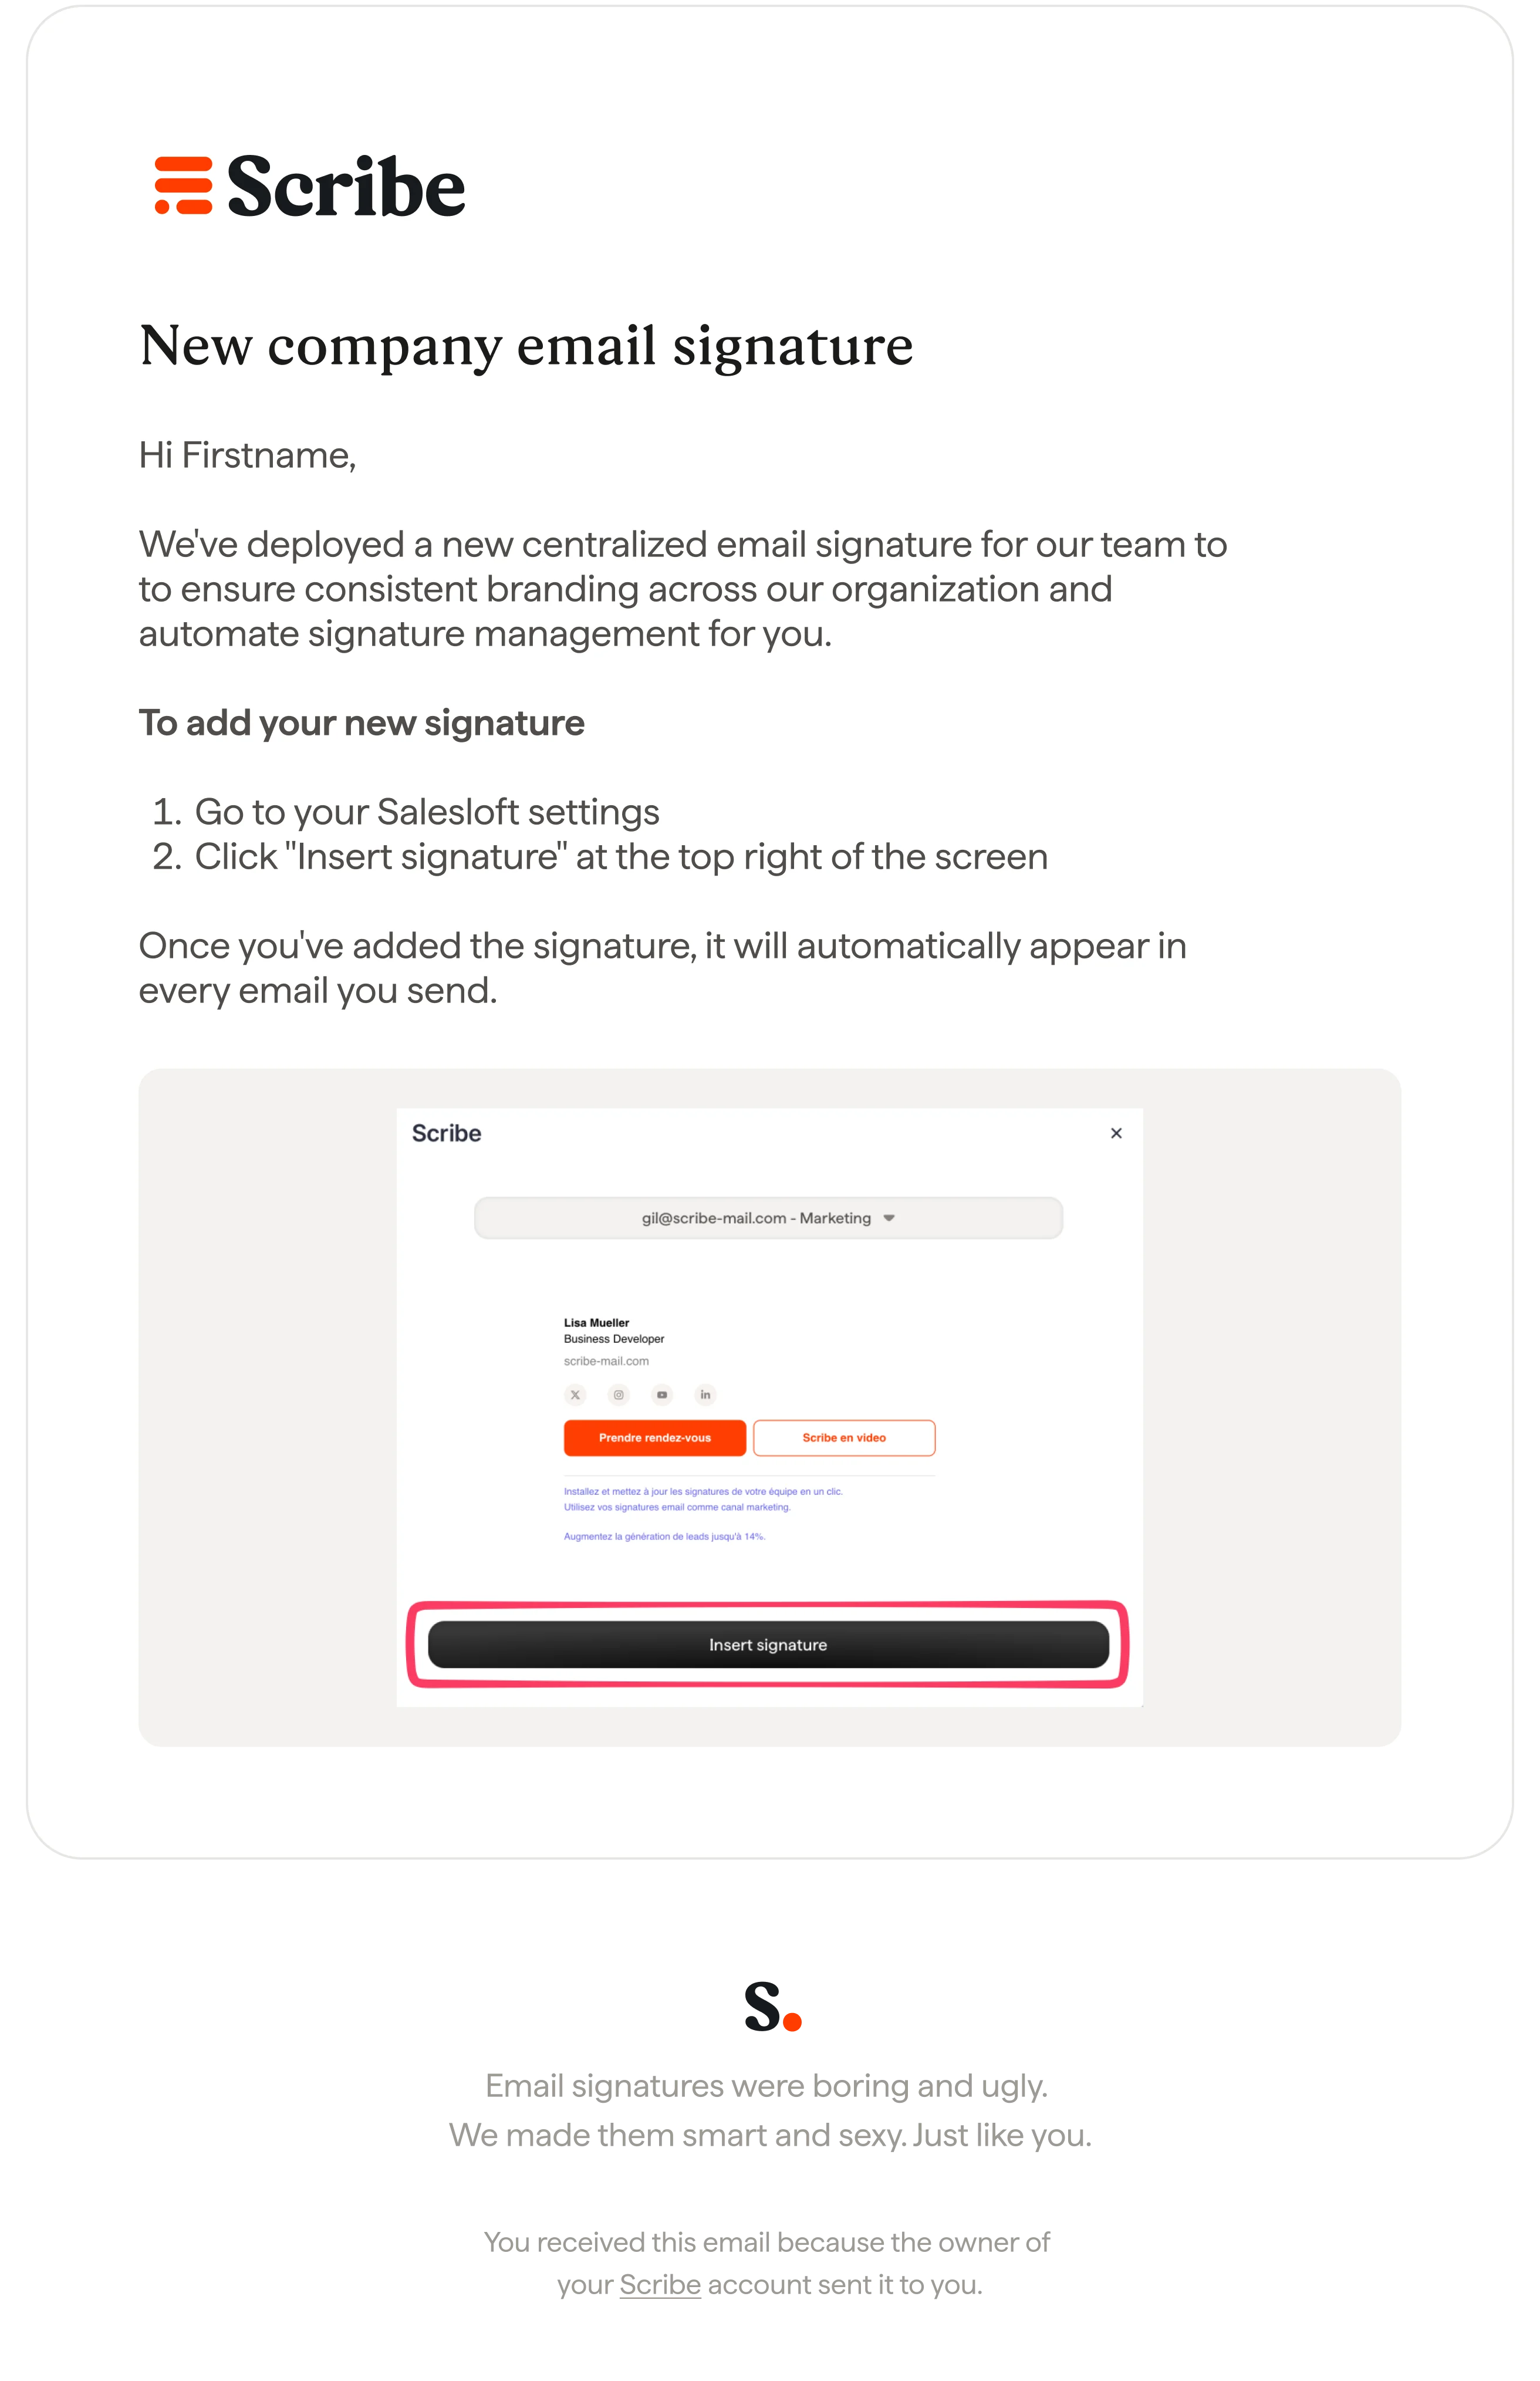
 [Send your teammates an email](/en/install-signatures) with instructions on how to add their signature to their Salesloft account.
 ## Related articles
* [Integrations overview](/en/integrations-overview): all the ways to deploy Scribe signatures, cloud or server side.
* [Outreach](/en/integrations/signatures/outreach-client-side): install Scribe signatures in Outreach.
* [Salesforce](/en/integrations/signatures/salesforce-client-side): install Scribe signatures in Salesforce.
* [Installation statuses and errors](/en/signature-installation-statuses-and-errors): what each installation status means and how to fix errors.
## Related articles
* [Integrations overview](/en/integrations-overview): all the ways to deploy Scribe signatures, cloud or server side.
* [Outreach](/en/integrations/signatures/outreach-client-side): install Scribe signatures in Outreach.
* [Salesforce](/en/integrations/signatures/salesforce-client-side): install Scribe signatures in Salesforce.
* [Installation statuses and errors](/en/signature-installation-statuses-and-errors): what each installation status means and how to fix errors.