> ## Documentation Index
> Fetch the complete documentation index at: https://help.scribe-mail.com/llms.txt
> Use this file to discover all available pages before exploring further.

# SalesLoft

> SalesloftでScribeのメール署名を設定する手順。管理者が連携を接続したあと、各チームメンバーがSalesloftの設定から自分の署名を挿入します。

<Info>
  **各チームメンバーが自分で署名を挿入します。** 連携を接続したあと、各チームメンバーがSalesloftの設定から自分の署名を追加します。ユーザーはメール作成時に署名を確認できます。クラウドベースのインストール:メールはScribeのサーバーを経由しません。
</Info>

<Info>
  **対応プラットフォーム:** Web
</Info>

## インストールガイド

<Warning>
  * Salesloft連携をインストールするには、**Salesloftの管理者**である必要があります。
  * 各チームメンバーがSalesloftの設定から署名を挿入する必要があります。
</Warning>

<Steps>
  <Step title="SalesLoft連携を接続">
    Scribeで **Connect SalesLoft** をクリックして連携を開始します。

    <Frame caption="ScribeのConnect SalesLoftボタン">
      <img src="https://mintcdn.com/scribe/xbQhr3JjkYildsKM/images/salesloft-connect-integration-button.png?fit=max&auto=format&n=xbQhr3JjkYildsKM&q=85&s=8504e9700d411b5427b7aefc6a0b4020" alt="Scribeの署名設定にあるConnect SalesLoftボタン" width="3454" height="1926" data-path="images/salesloft-connect-integration-button.png" />
    </Frame>
  </Step>

  <Step title="SalesLoftアカウントにサインイン">
    すでにログイン済みの場合、この手順はスキップされます。

    <Frame caption="SalesLoftサインインページ">
      <img src="https://mintcdn.com/scribe/I5V9iTucPI_EY3nq/integrations/signatures/images/salesloft-step-2.png?fit=max&auto=format&n=I5V9iTucPI_EY3nq&q=85&s=0e450d737197492a32b76af8bab114e4" alt="SalesLoftサインインページ" className="mx-auto" style={{ width:"75%" }} width="990" height="726" data-path="integrations/signatures/images/salesloft-step-2.png" />
    </Frame>
  </Step>

  <Step title="スコープを承認">
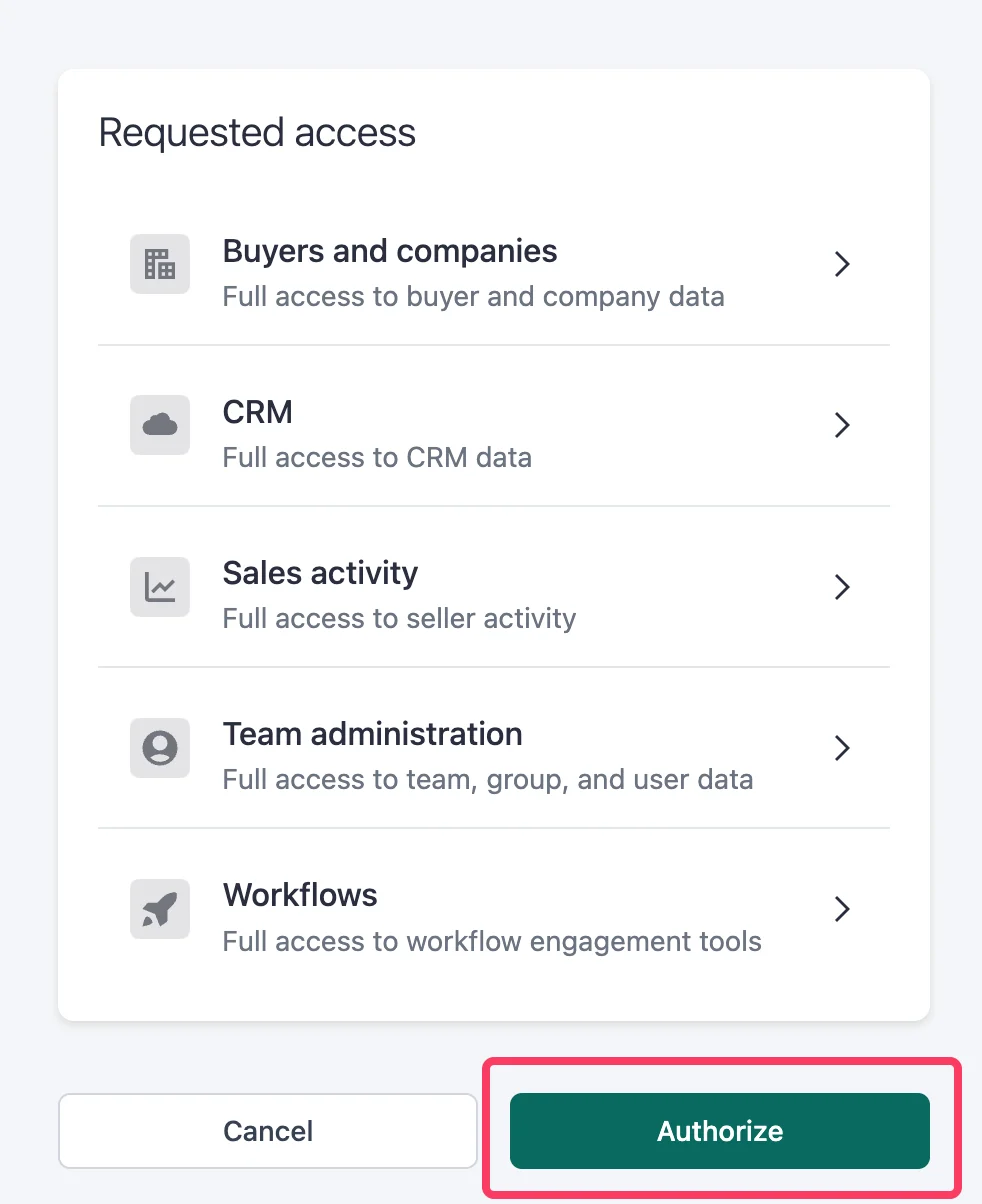
    承認すると、連携は自動的に接続されます。

    <Frame caption="Scribeのアクセス権限を表示するSalesLoftの承認画面">
      <img src="https://mintcdn.com/scribe/I5V9iTucPI_EY3nq/integrations/signatures/images/salesloft-step-3.png?fit=max&auto=format&n=I5V9iTucPI_EY3nq&q=85&s=81a7508124f89932bc0d25c3ee58d6e9" alt="Scribeのアクセス権限を表示するSalesLoftの承認画面" className="mx-auto" style={{ width:"64%" }} width="982" height="1204" data-path="integrations/signatures/images/salesloft-step-3.png" />
    </Frame>
  </Step>

  <Step title="SalesLoftアカウントにサインイン">
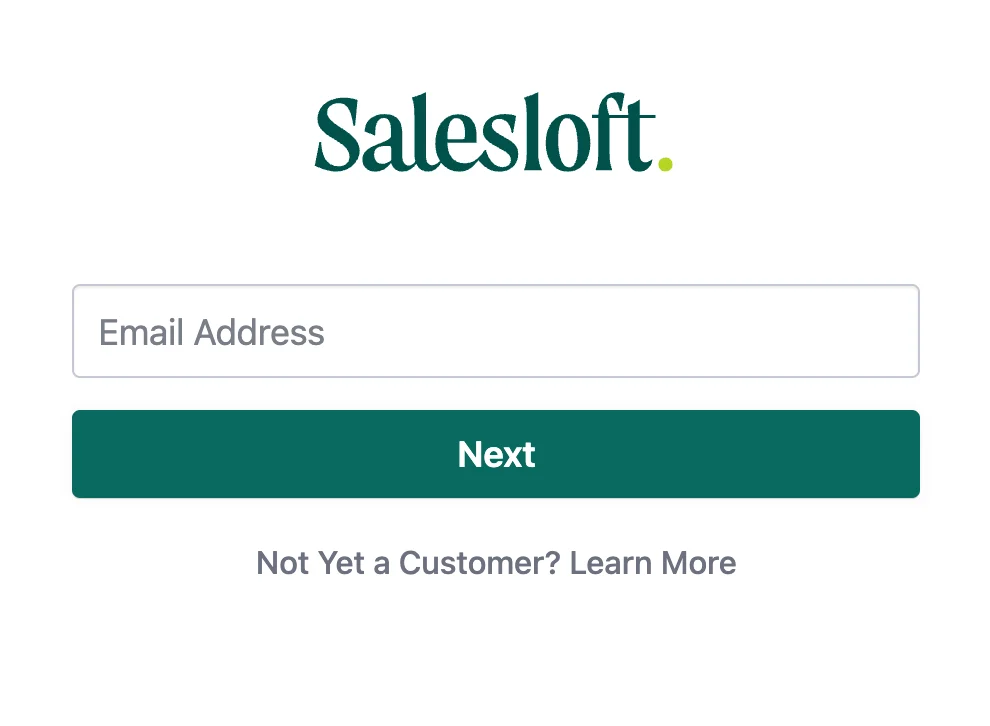
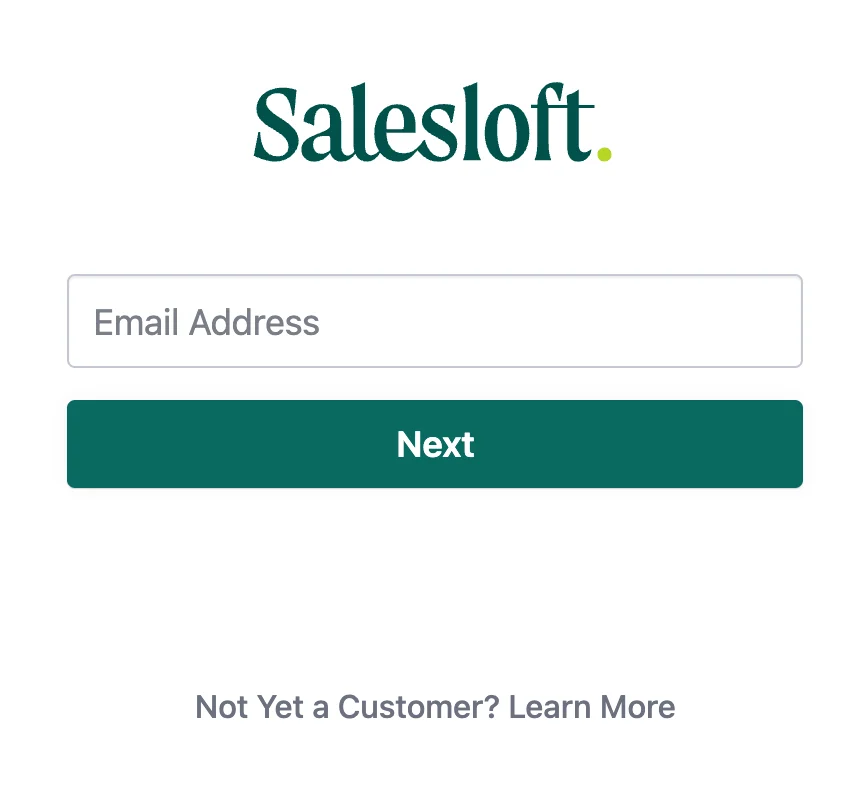
    [Salesloftサインインページ](https://accounts.salesloft.com/sign_in)にアクセスし、メールアドレスとパスワードでサインインします。

    <Frame caption="SalesLoftサインインページ">
      <img src="https://mintcdn.com/scribe/I5V9iTucPI_EY3nq/integrations/signatures/images/salesloft-step-4.png?fit=max&auto=format&n=I5V9iTucPI_EY3nq&q=85&s=75e3c9c4191764adf05d6d6bc02baf3a" alt="SalesLoftサインインページ" className="mx-auto" style={{ width:"65%" }} width="868" height="802" data-path="integrations/signatures/images/salesloft-step-4.png" />
    </Frame>
  </Step>

  <Step title="Salesloftの設定を開く">
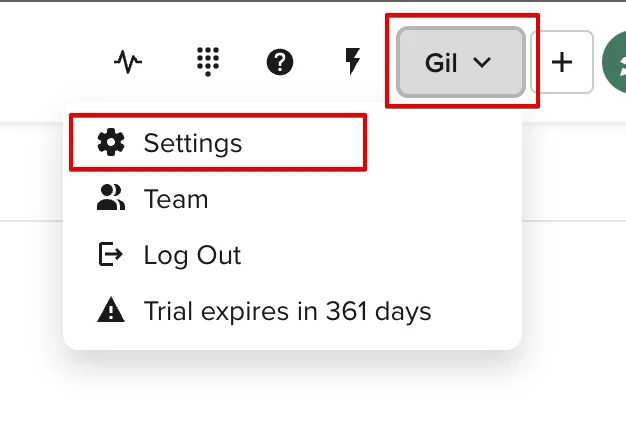
    SalesLoftアカウントに移動し、自分の名前をクリックして "Settings" を選択します。

    <Frame caption="SettingsオプションのあるSalesLoftユーザーメニュー">
      <img src="https://mintcdn.com/scribe/I5V9iTucPI_EY3nq/integrations/signatures/images/salesloft-step-5.png?fit=max&auto=format&n=I5V9iTucPI_EY3nq&q=85&s=5fcefa2a0edcfb0ded80711b2e03cb05" alt="SettingsオプションのあるSalesLoftユーザーメニュー" className="mx-auto" style={{ width:"77%" }} width="626" height="440" data-path="integrations/signatures/images/salesloft-step-5.png" />
    </Frame>
  </Step>

  <Step title="Scribeモーダルを開く">
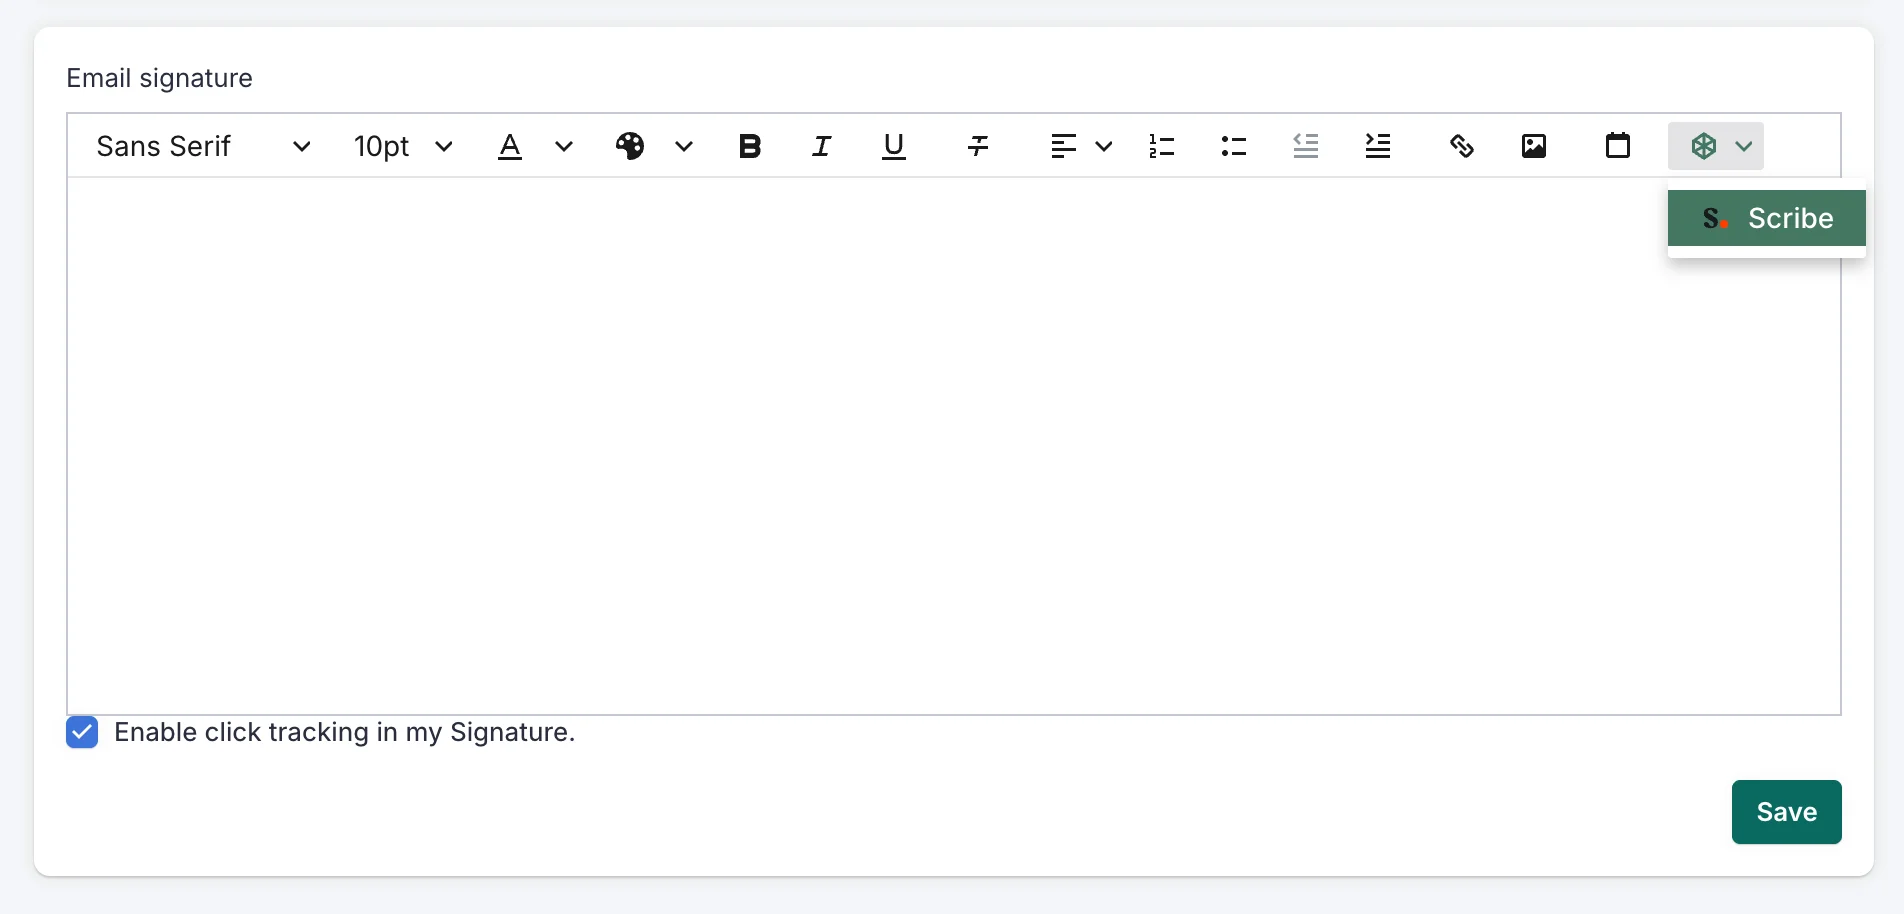
    Email Signationセクションで、Scribeモーダルを開きます。

    <Frame caption="Scribeボタンが表示されたSalesLoftのメール署名セクション">
      <img src="https://mintcdn.com/scribe/I5V9iTucPI_EY3nq/integrations/signatures/images/salesloft-step-6.png?fit=max&auto=format&n=I5V9iTucPI_EY3nq&q=85&s=6bdf903f83d667b7de1a36e124caa68d" alt="Scribeボタンが表示されたSalesLoftのメール署名セクション" className="mx-auto" style={{ width:"86%" }} width="1904" height="914" data-path="integrations/signatures/images/salesloft-step-6.png" />
    </Frame>
  </Step>

  <Step title="署名を挿入">
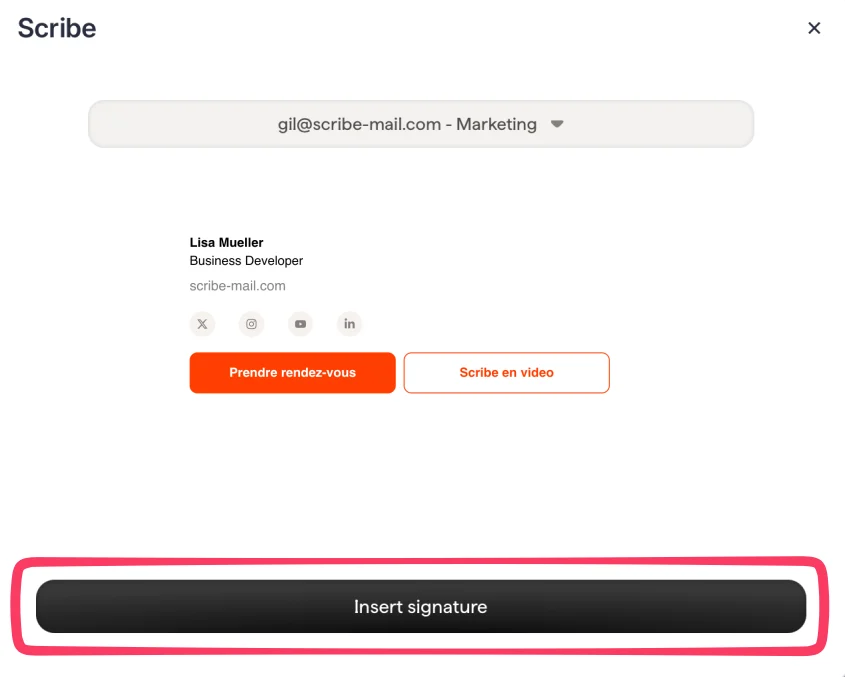
    対象のメールを選択し、"Insert signature" をクリックします。各チームメンバーも、自身のSalesLoft設定画面で "Insert signature" をクリックする必要があります。

    <Frame caption="署名プレビューと「Insert signature」ボタンが表示された Scribe モーダル">
      <img src="https://mintcdn.com/scribe/I5V9iTucPI_EY3nq/integrations/signatures/images/salesloft-step-7.png?fit=max&auto=format&n=I5V9iTucPI_EY3nq&q=85&s=f3a50e2ace25929225123f97dd7775aa" alt="署名プレビューと「Insert signature」ボタンが表示された Scribe モーダル" className="mx-auto" style={{ width:"70%" }} width="845" height="677" data-path="integrations/signatures/images/salesloft-step-7.png" />
    </Frame>
  </Step>

  <Step title="チームメンバーに署名の追加を通知">
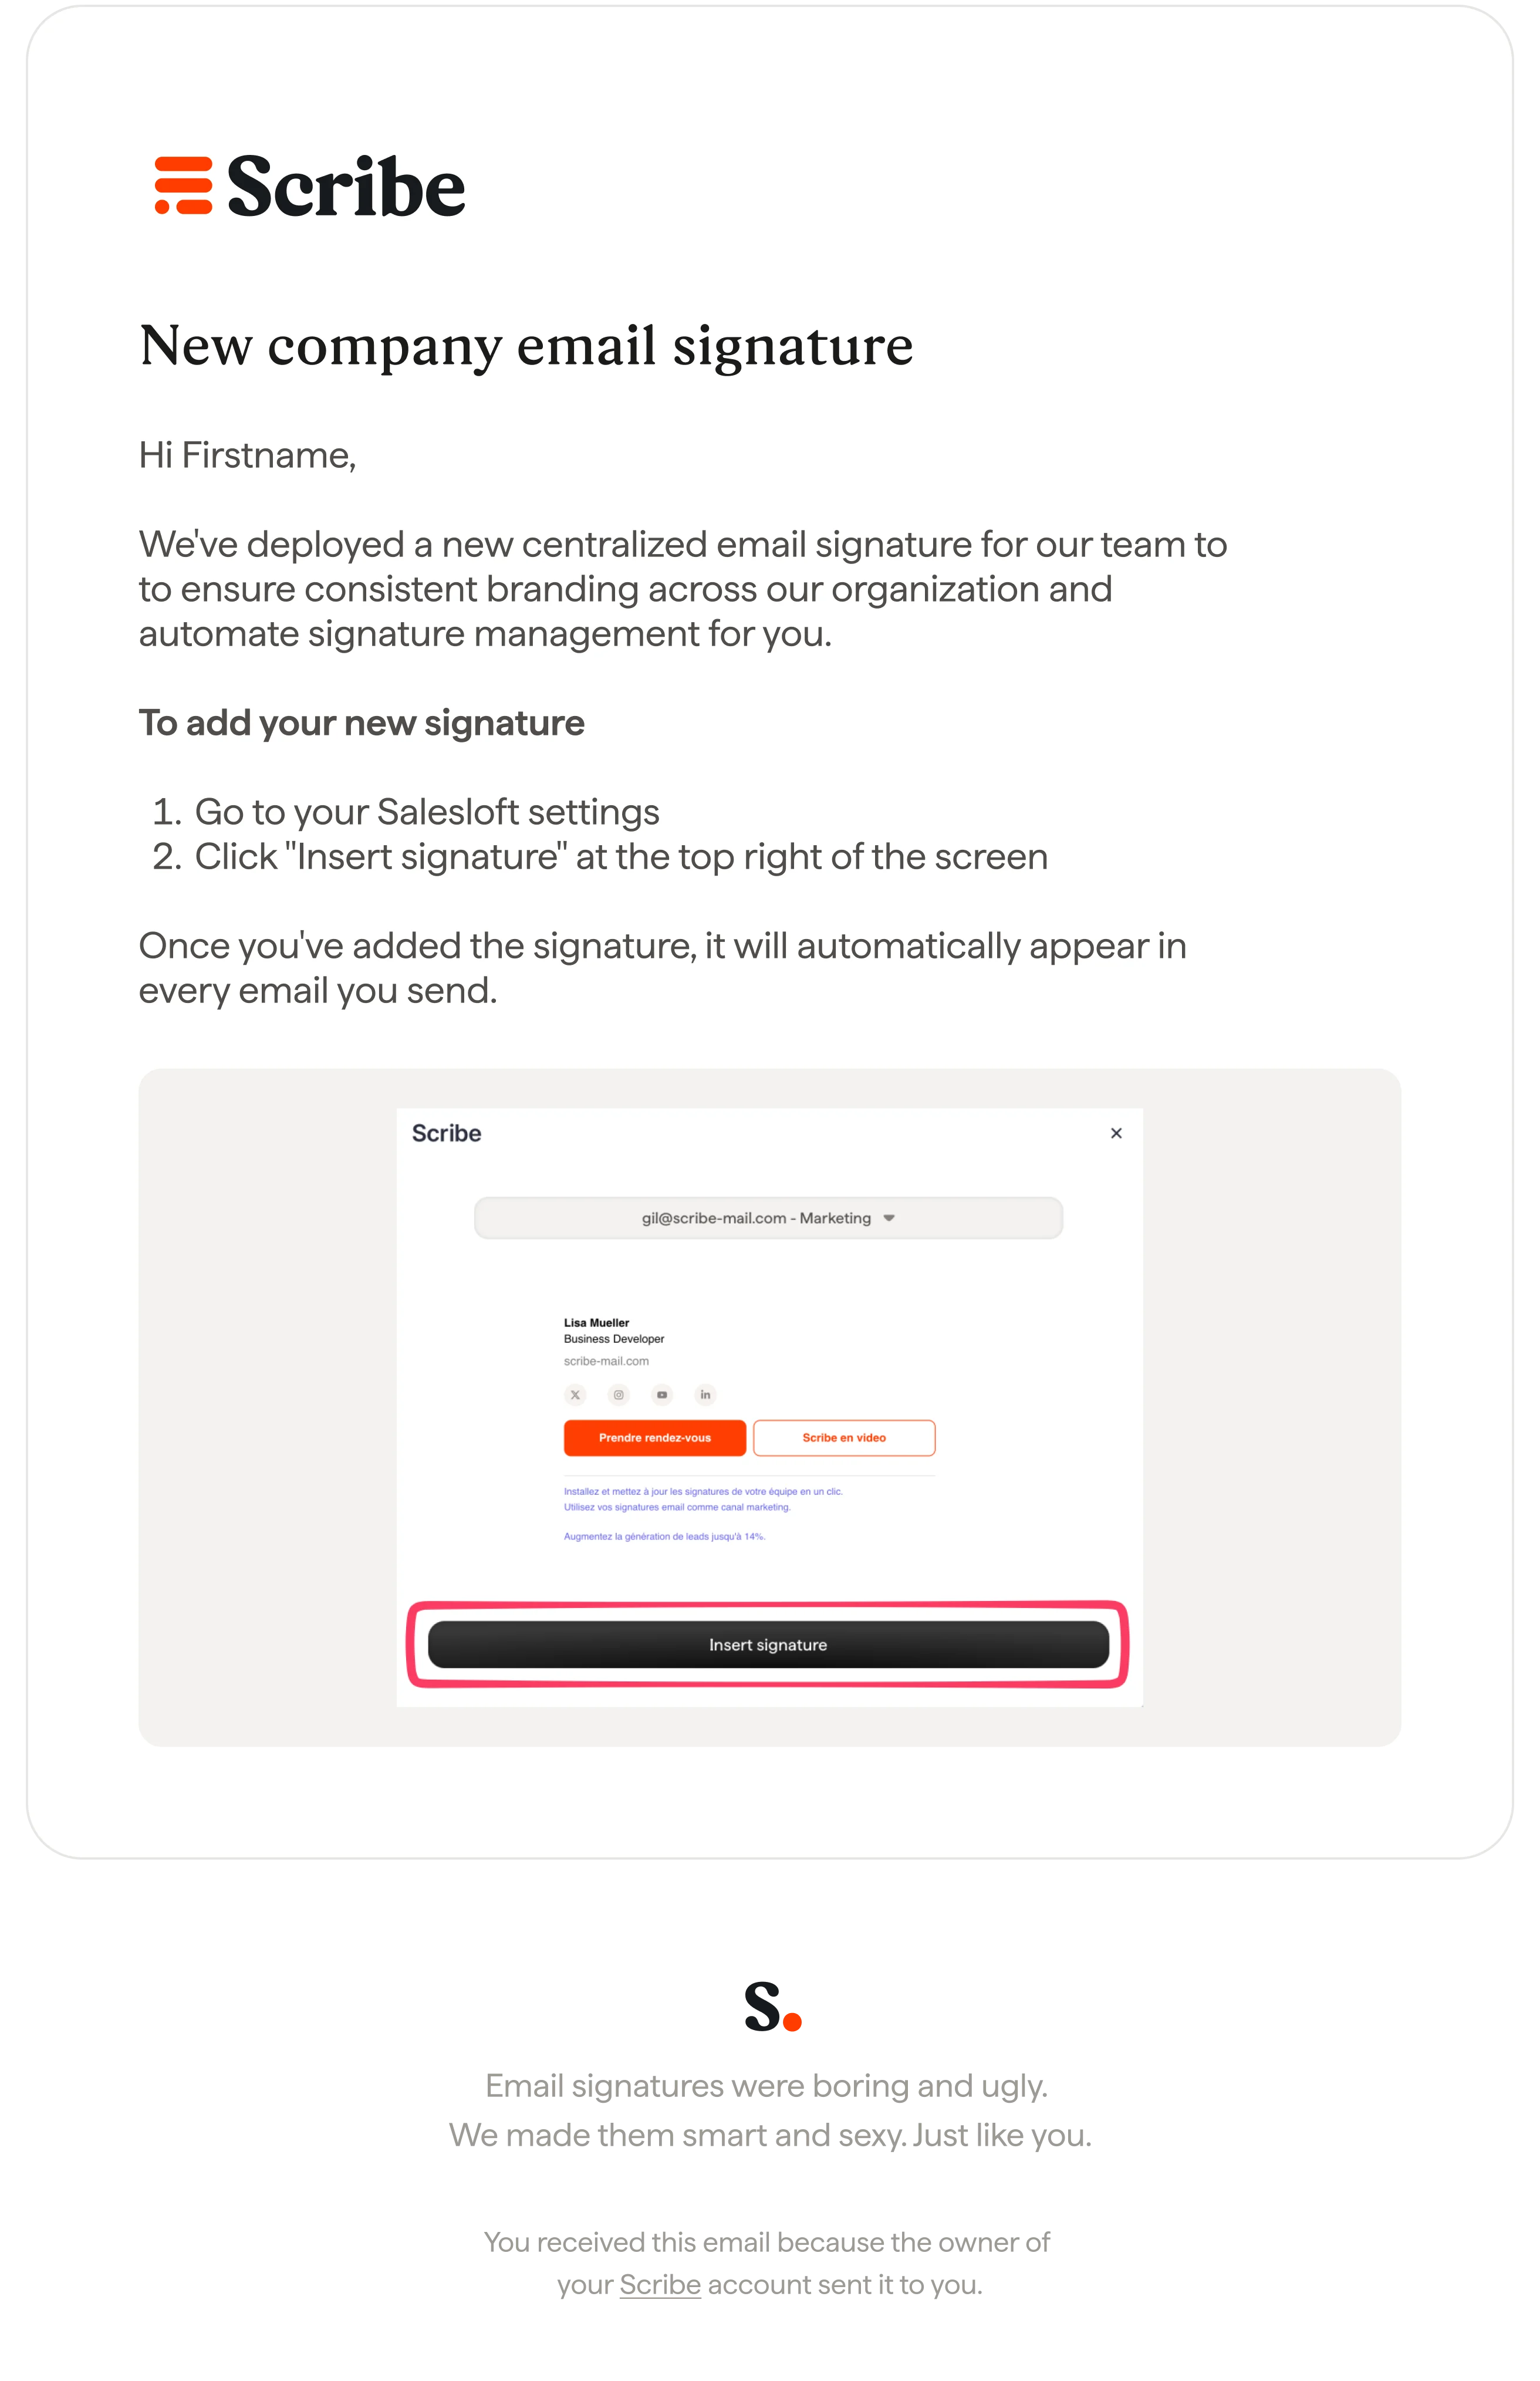
    [チームメンバーにメールを送信](/ja/install-signatures)し、Salesloft アカウントに署名を追加する方法を案内します。

    <Frame caption="チームメンバーへのメール通知を送信">
      <img src="https://mintcdn.com/scribe/I5V9iTucPI_EY3nq/integrations/signatures/images/salesloft-step-8.png?fit=max&auto=format&n=I5V9iTucPI_EY3nq&q=85&s=fe18a84f288a96ac54e345582c6fa4f1" alt="チームメンバーへのメール通知を送信" className="mx-auto" style={{ width:"63%" }} width="2624" height="4057" data-path="integrations/signatures/images/salesloft-step-8.png" />
    </Frame>
  </Step>
</Steps>

## 関連記事

* [連携機能の概要](/ja/integrations-overview):Scribe 署名を導入するすべての方法(クラウド側・サーバー側)。
* [Outreach](/ja/integrations/signatures/outreach-client-side):Outreach に Scribe 署名をインストールします。
* [Salesforce](/ja/integrations/signatures/salesforce-client-side):Salesforce に Scribe 署名をインストールします。
* [インストールのステータスとエラー](/ja/signature-installation-statuses-and-errors):各インストールステータスの意味とエラーの解決方法。
