> ## Documentation Index
> Fetch the complete documentation index at: https://help.scribe-mail.com/llms.txt
> Use this file to discover all available pages before exploring further.
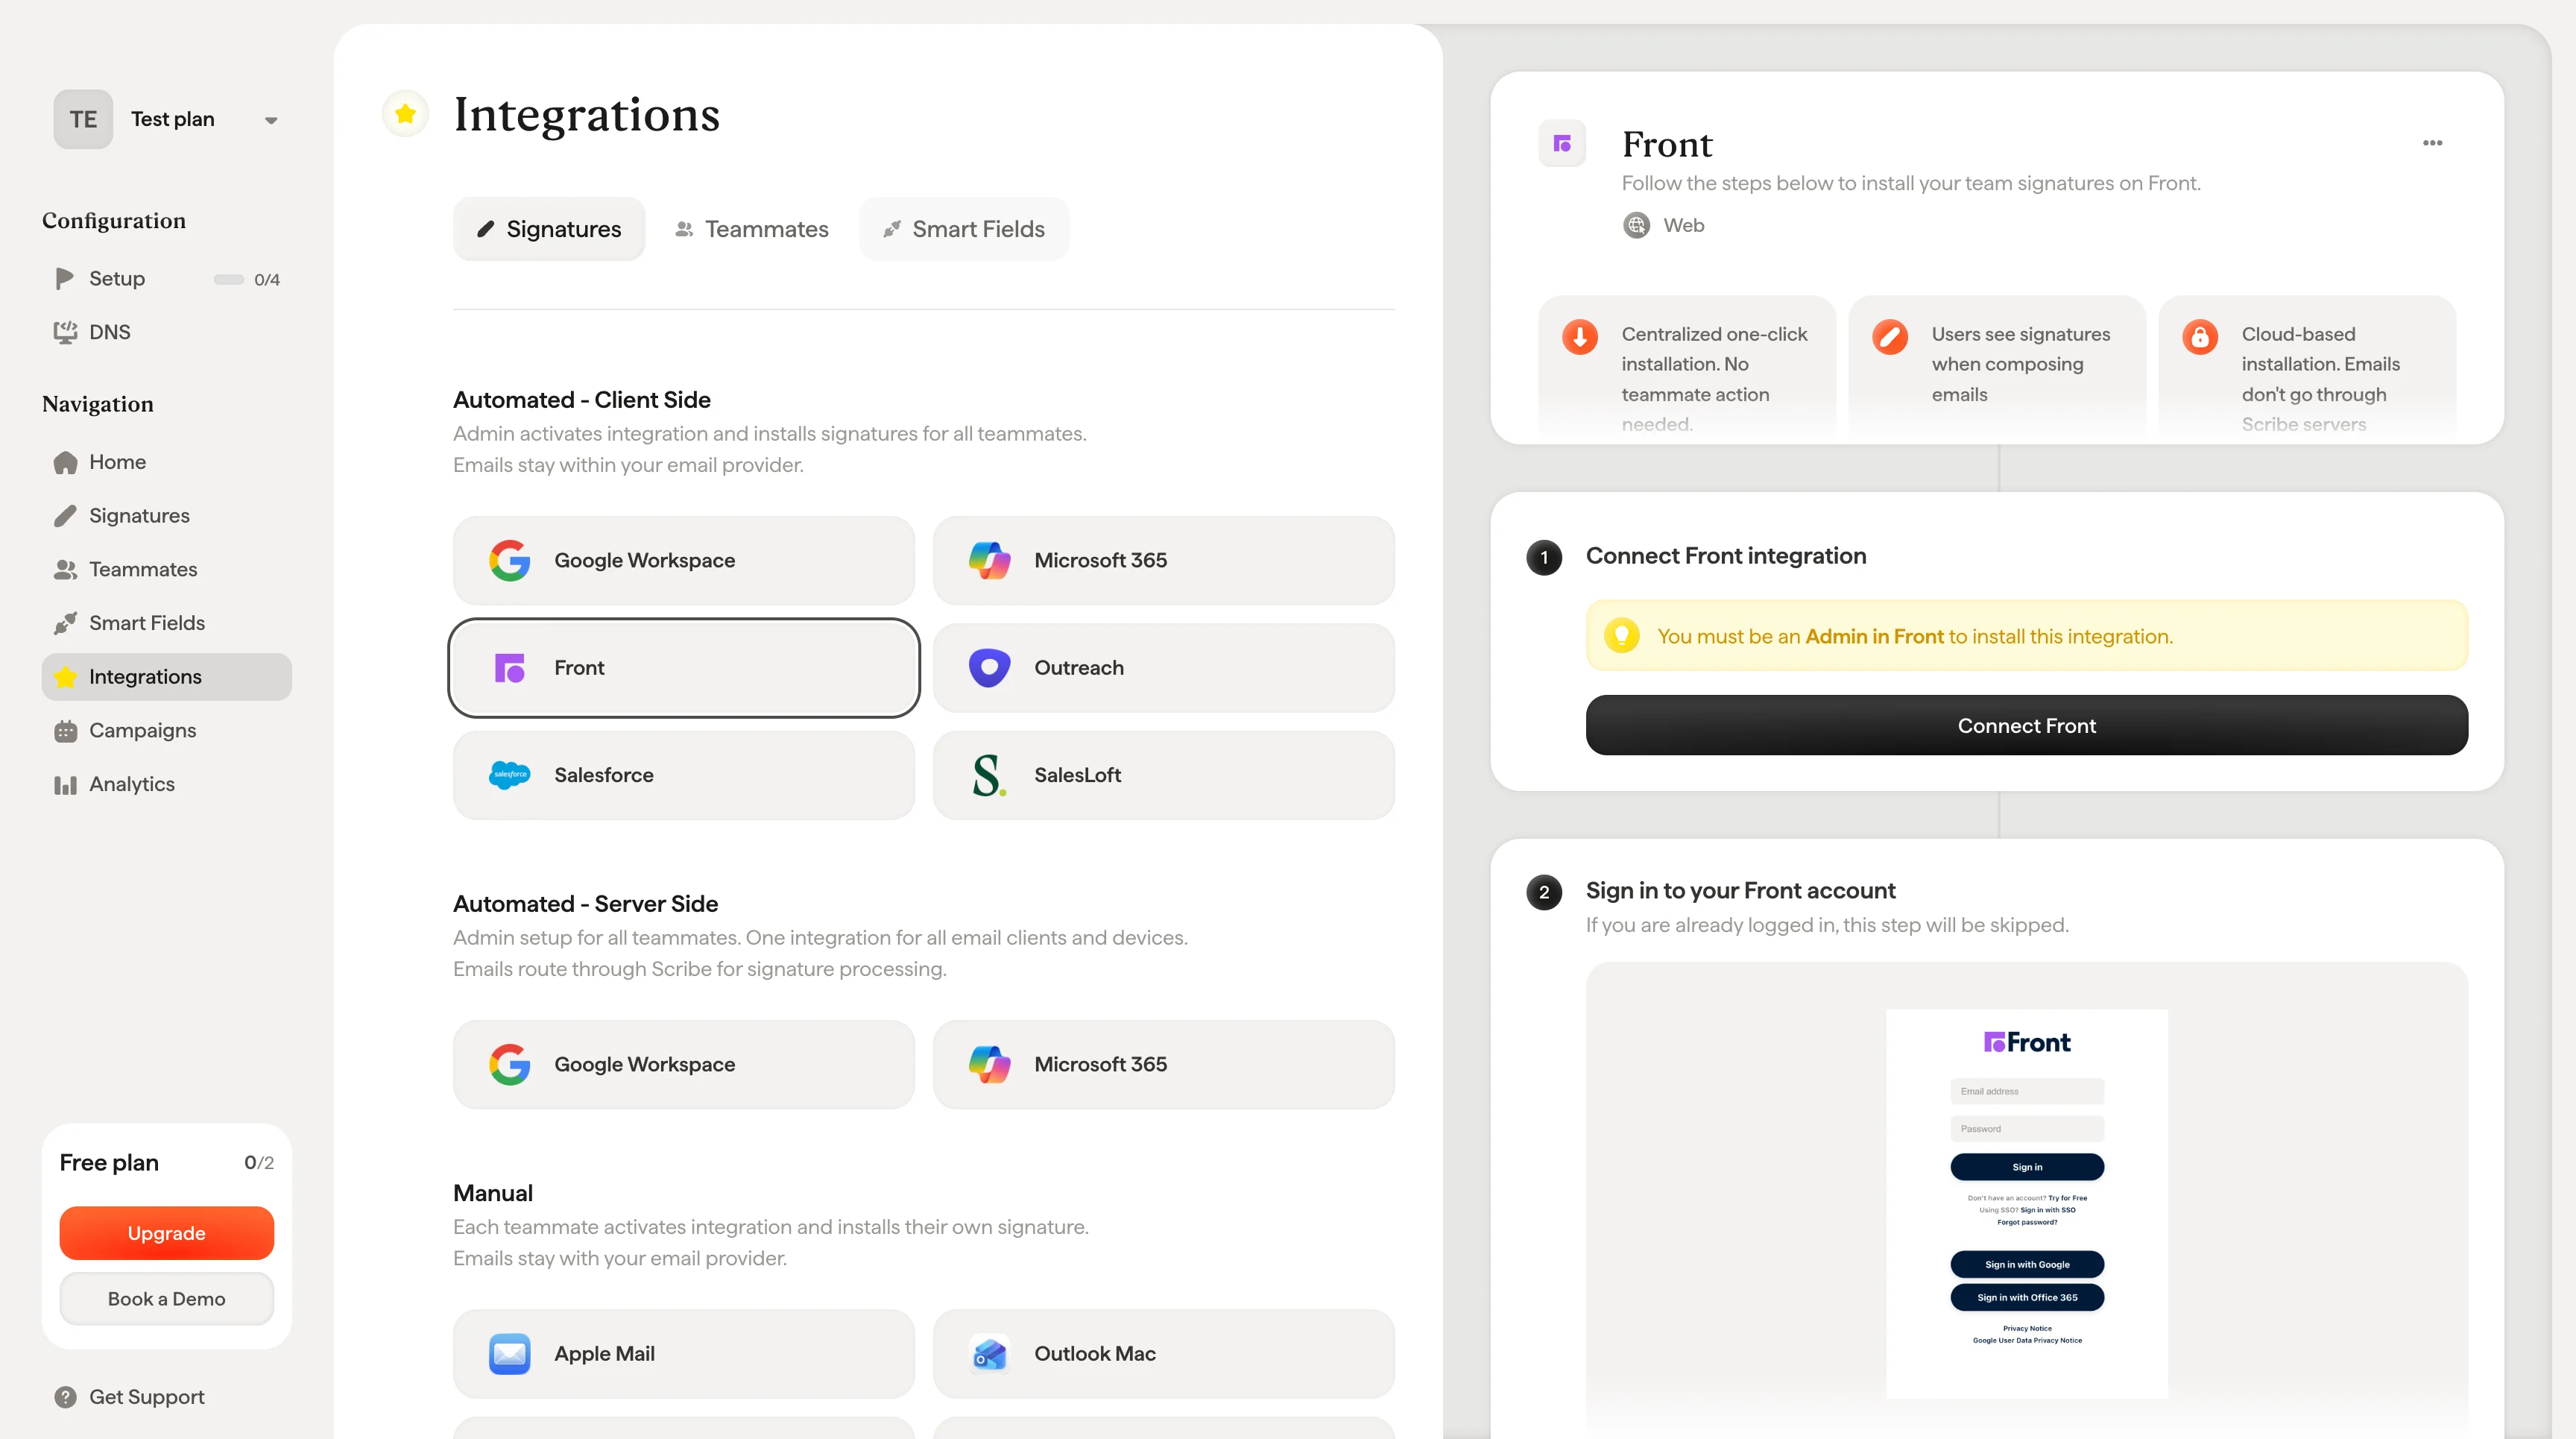
# Front
> Front 관리자로 연동을 연결하면 클릭 한 번으로 팀의 Front 전체에 Scribe 이메일 서명을 설치할 수 있어요. 팀원이 따로 할 일은 없어요.
**중앙에서 클릭 한 번으로 설치.** 팀원이 따로 할 일은 없어요. 사용자는 이메일을 작성할 때 서명을 볼 수 있어요. 클라우드 기반 설치 방식이라 이메일이 Scribe 서버를 거치지 않아요.
**지원 플랫폼:** 웹
## 설치 가이드
이 연동을 설치하려면 **Front의 Admin** 권한이 있어야 해요.
Scribe에서 **Connect Front**를 클릭해 연동을 시작하세요.
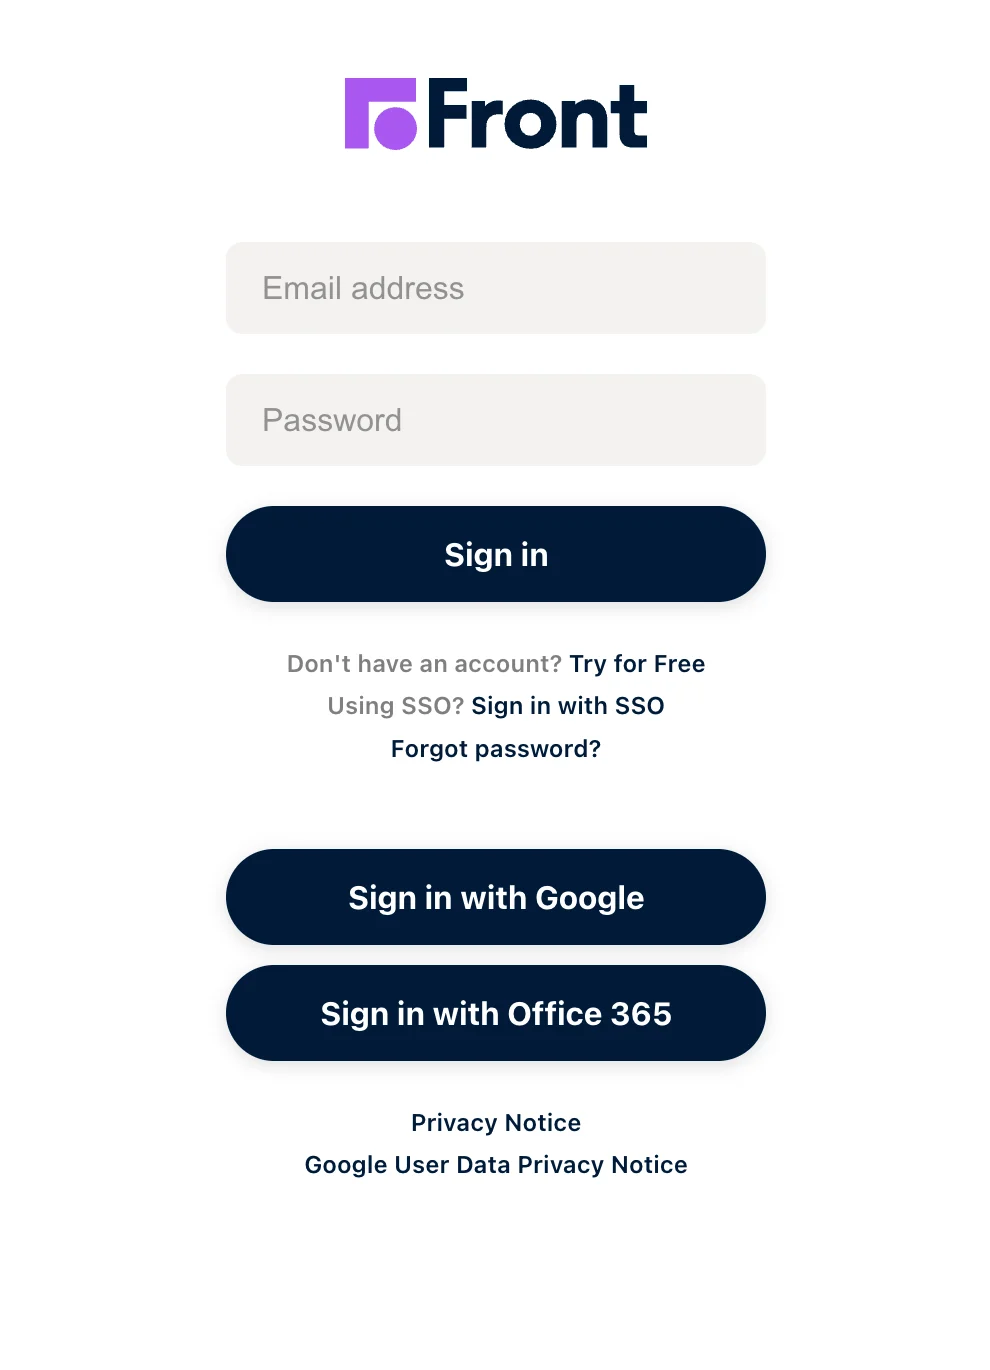
 이미 로그인되어 있다면 이 단계는 건너뛰어요.
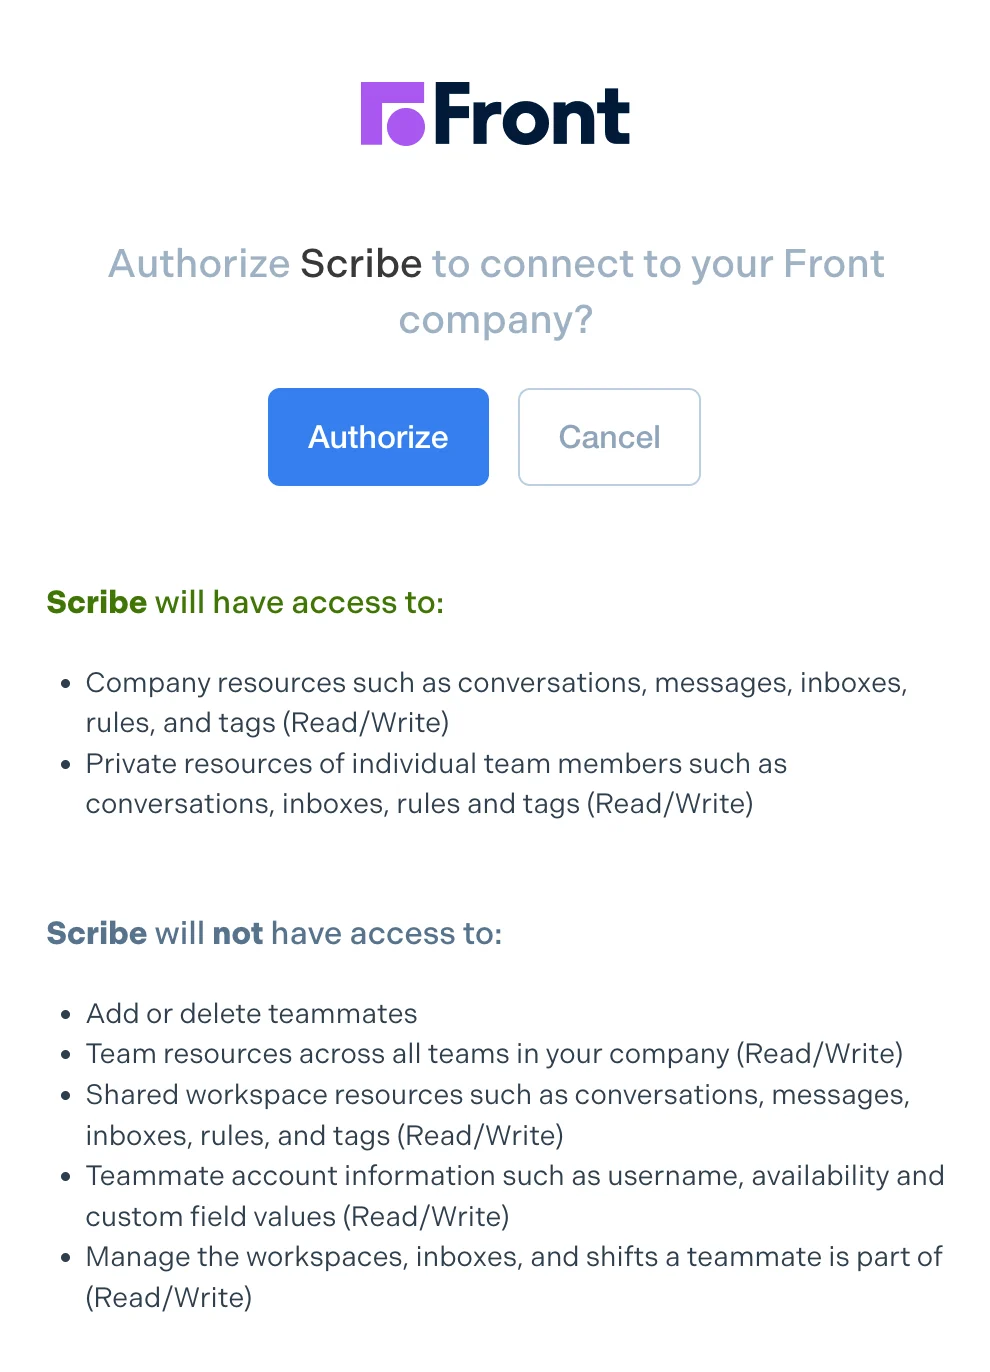
 승인하면 연동이 자동으로 연결돼요.
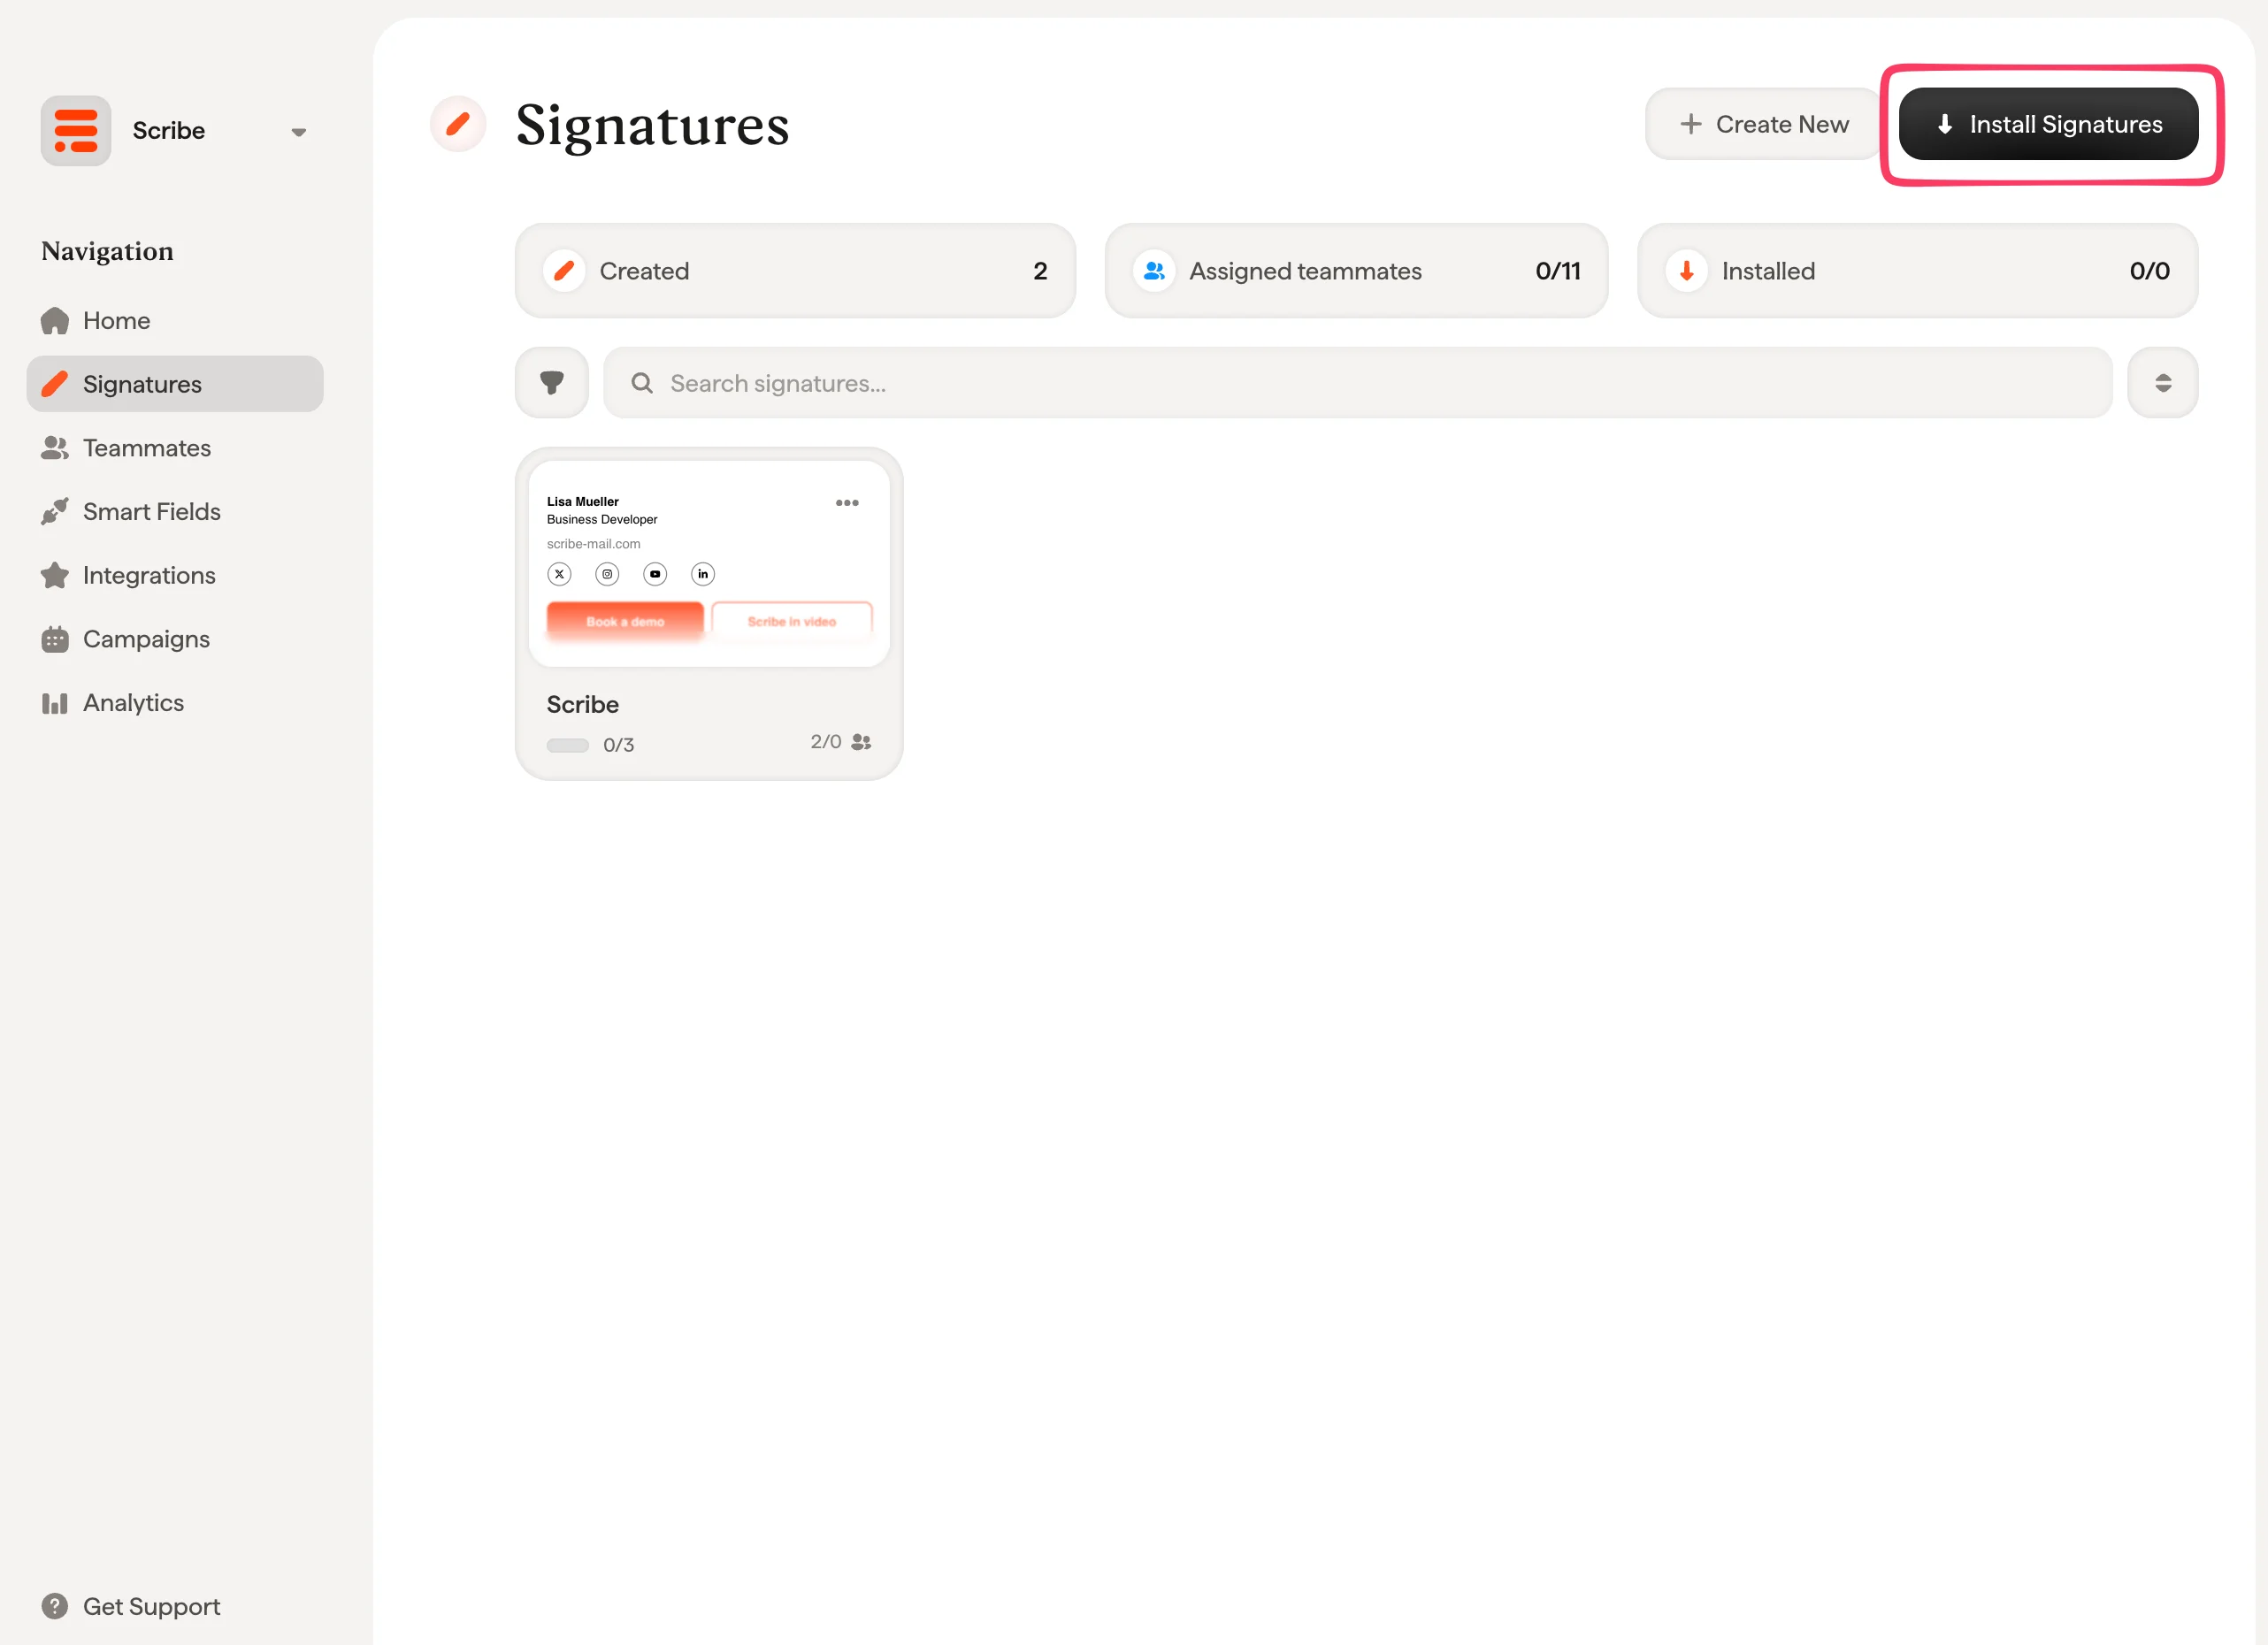
 서명 목록에서 [팀원에게 모든 서명을 한 번에 설치](/ko/install-signatures)하거나, 점진적으로 배포하기 위해 하나씩 설치할 수 있어요.
 ## 관련 문서
* [연동 개요](/ko/integrations-overview): 클라우드 또는 서버 측에서 Scribe 서명을 배포하는 모든 방법.
* [Google Workspace](/ko/integrations/signatures/google-workspace-client-side): Google Workspace용 원클릭 클라우드 설치.
* [Microsoft 365](/ko/integrations/signatures/microsoft-365-client-side): Microsoft 365 및 Outlook용 원클릭 클라우드 설치.
* [설치 상태 및 오류](/ko/signature-installation-statuses-and-errors): 각 설치 상태의 의미와 오류 해결 방법.
## 관련 문서
* [연동 개요](/ko/integrations-overview): 클라우드 또는 서버 측에서 Scribe 서명을 배포하는 모든 방법.
* [Google Workspace](/ko/integrations/signatures/google-workspace-client-side): Google Workspace용 원클릭 클라우드 설치.
* [Microsoft 365](/ko/integrations/signatures/microsoft-365-client-side): Microsoft 365 및 Outlook용 원클릭 클라우드 설치.
* [설치 상태 및 오류](/ko/signature-installation-statuses-and-errors): 각 설치 상태의 의미와 오류 해결 방법.