> ## Documentation Index
> Fetch the complete documentation index at: https://help.scribe-mail.com/llms.txt
> Use this file to discover all available pages before exploring further.
# 서명 HTML
> Scribe 서명을 HTML로 복사해 모든 이메일 플랫폼에 직접 설치하거나, 팀원을 초대해 각자 서명을 추가하고 설치하도록 할 수 있어요.
다음 단계를 따라 Scribe 서명 HTML을 외부 플랫폼에 복사하세요.
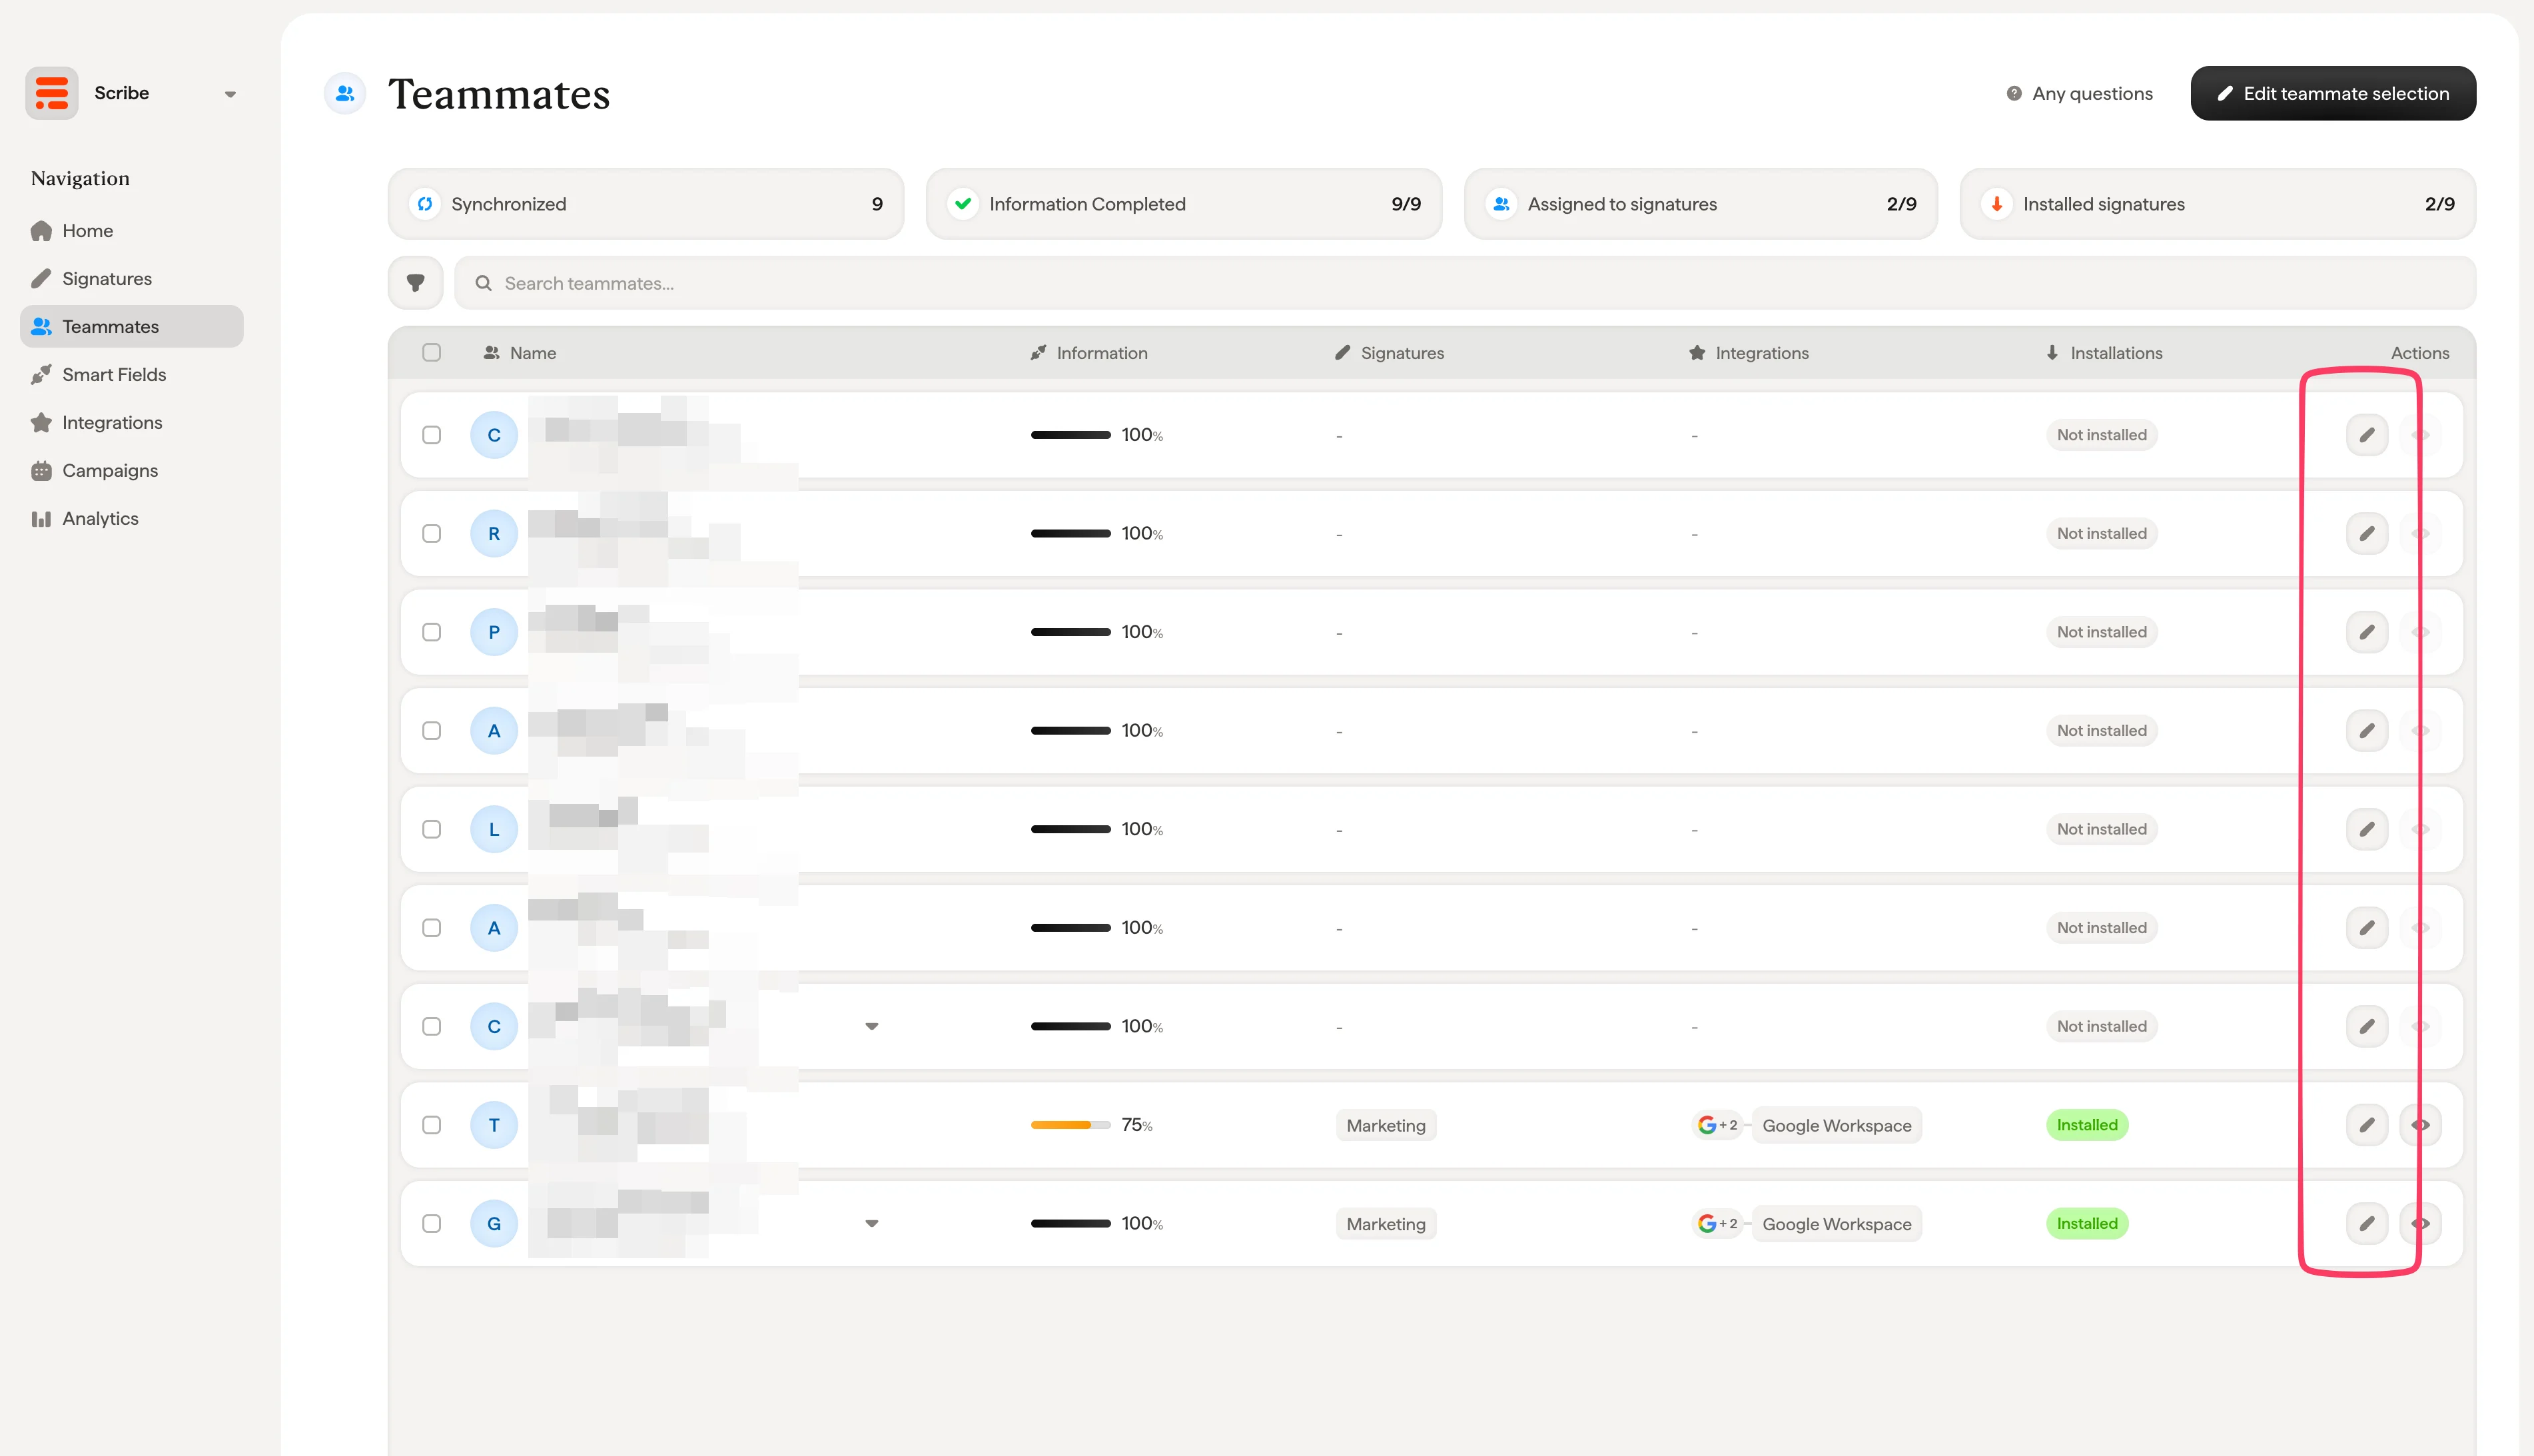
**각 사용자는 서명 HTML을 직접 설치해야 해요.**
**사용자는 이메일을 작성할 때 서명을 볼 수 있어요.**
**클라우드 기반 설치.** 이메일은 Scribe 서버를 거치지 않아요.
## HTML 직접 설치
### 사전 준비
* Scribe 계정
* Scribe에서 만든 서명 1개 이상
* 워크스페이스에 추가된 팀원
 플랫폼을 선택한 다음 HTML 코드를 복사해 설치하세요.
 사용 중인 이메일 플랫폼별 단계별 안내를 확인하세요:
Gmail에 서명 설치하기
Outlook에 서명 설치하기
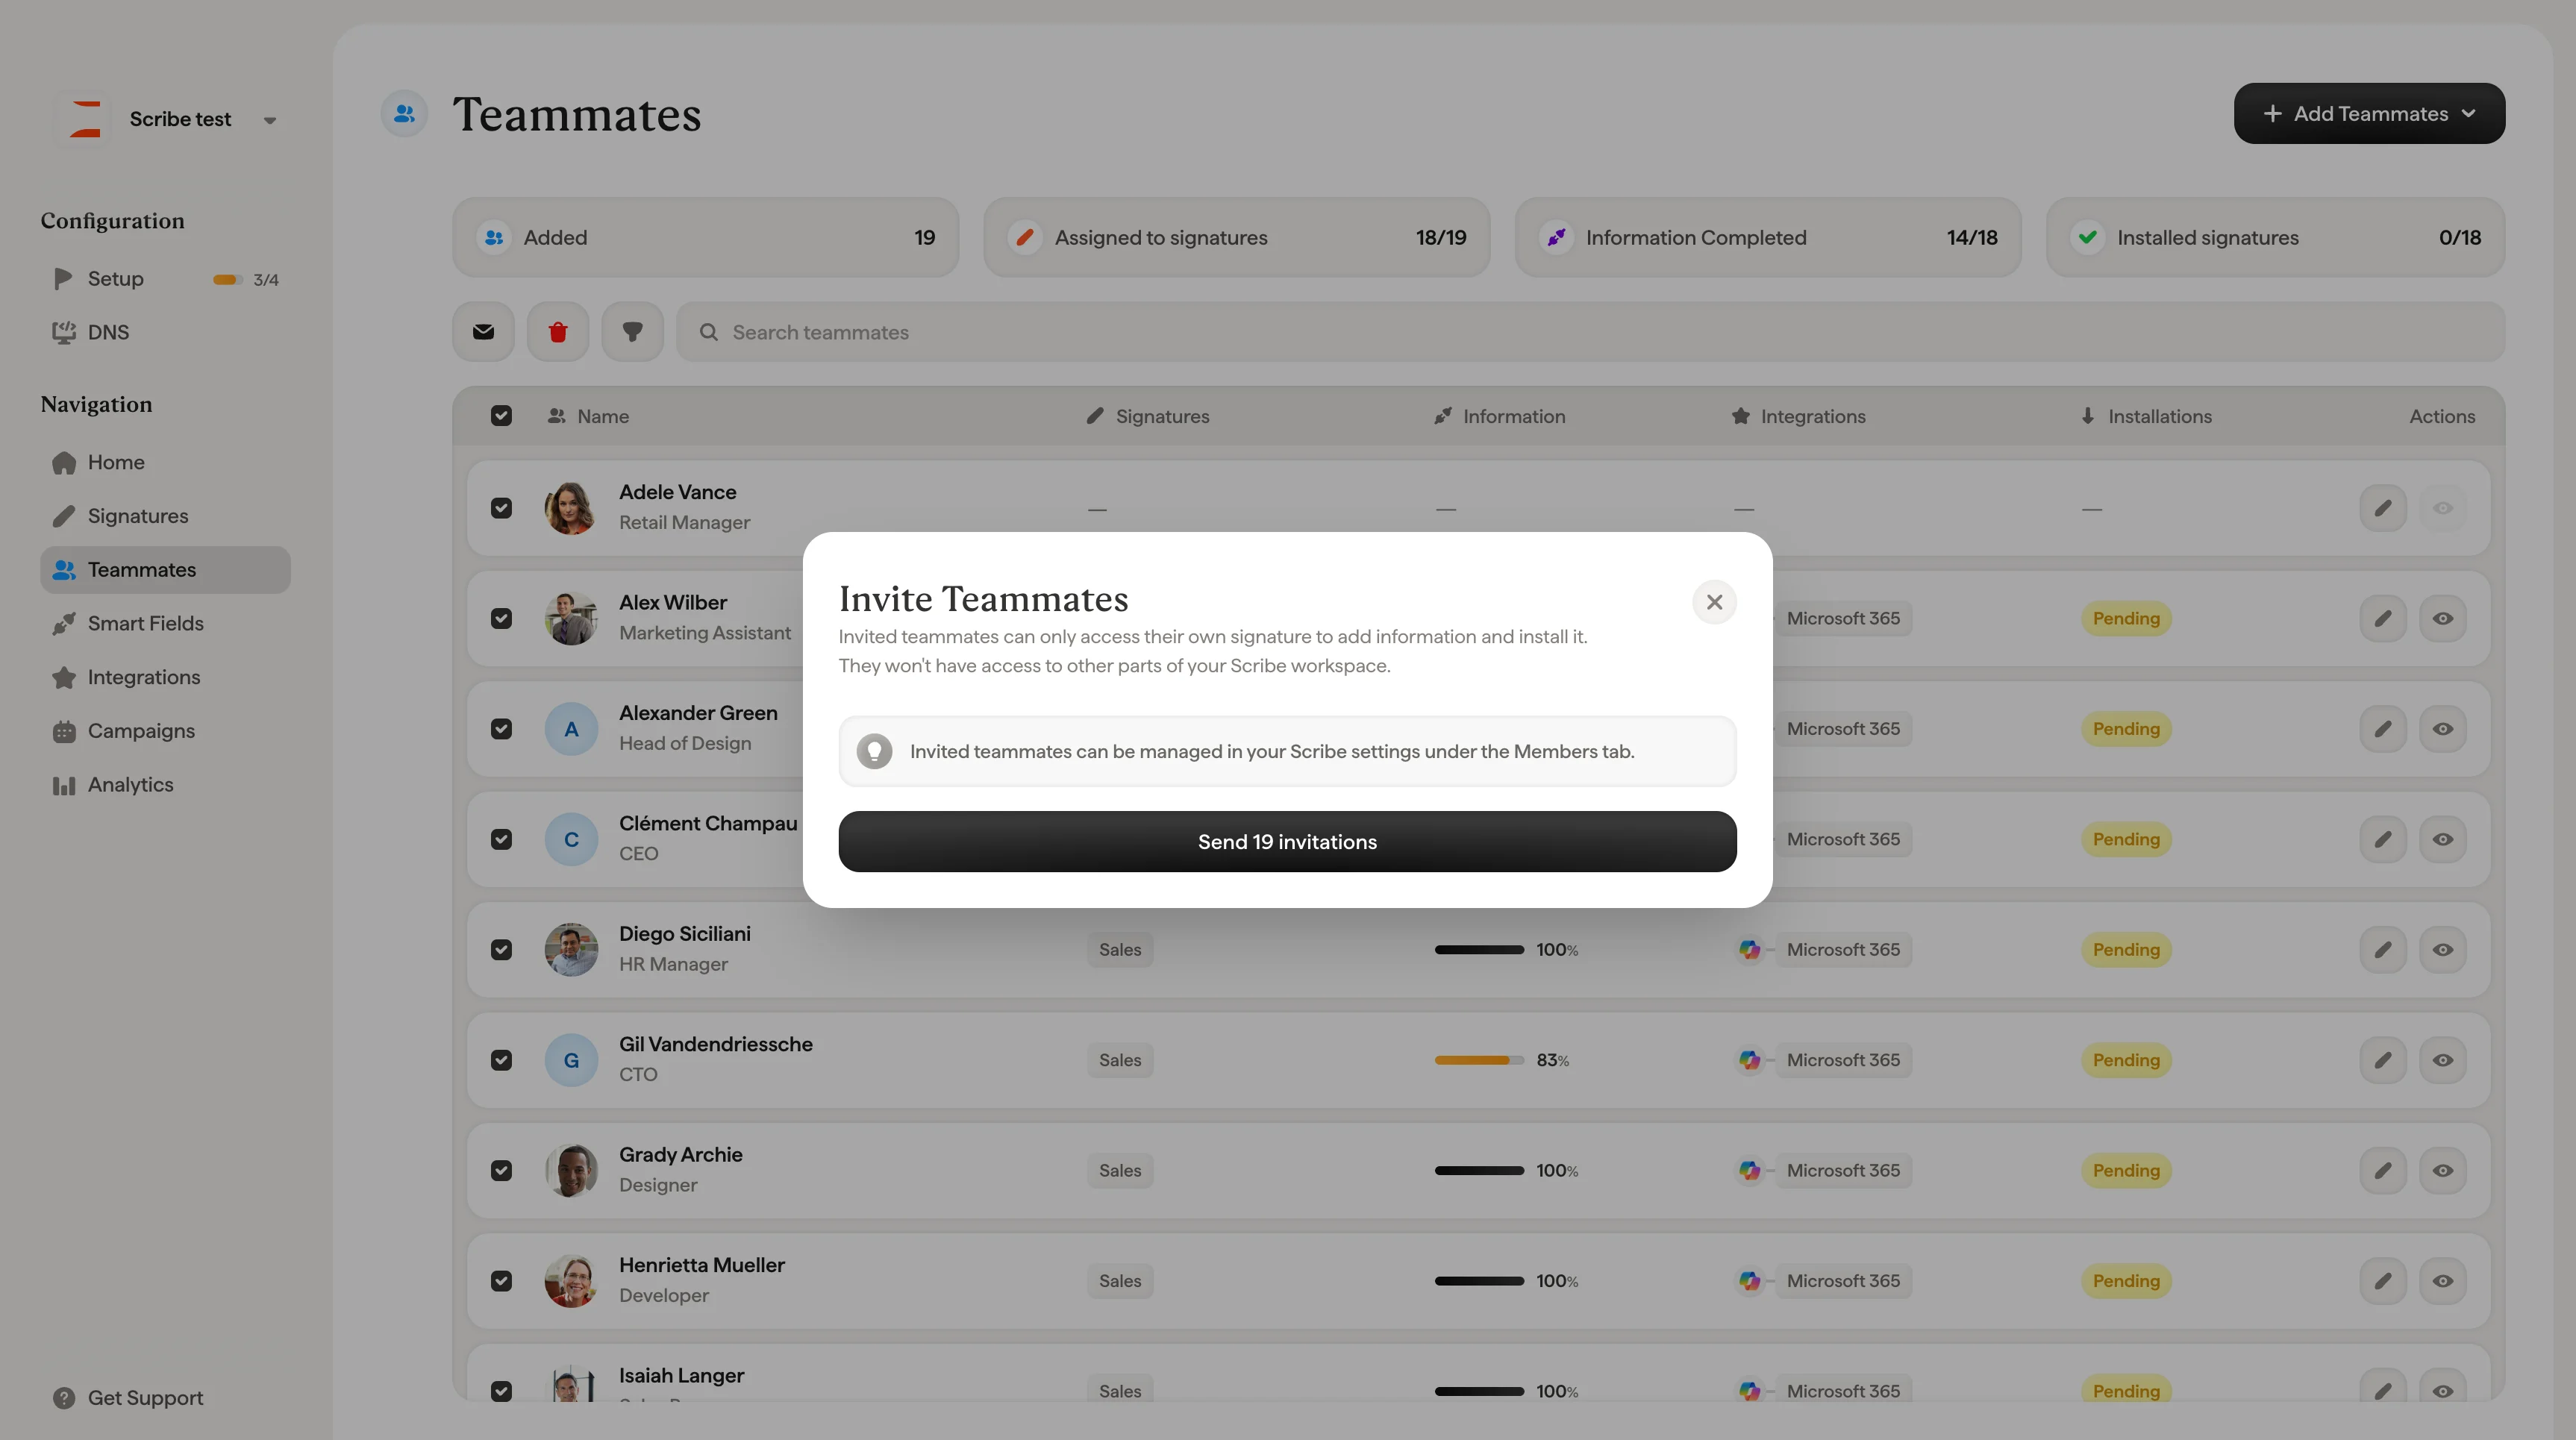
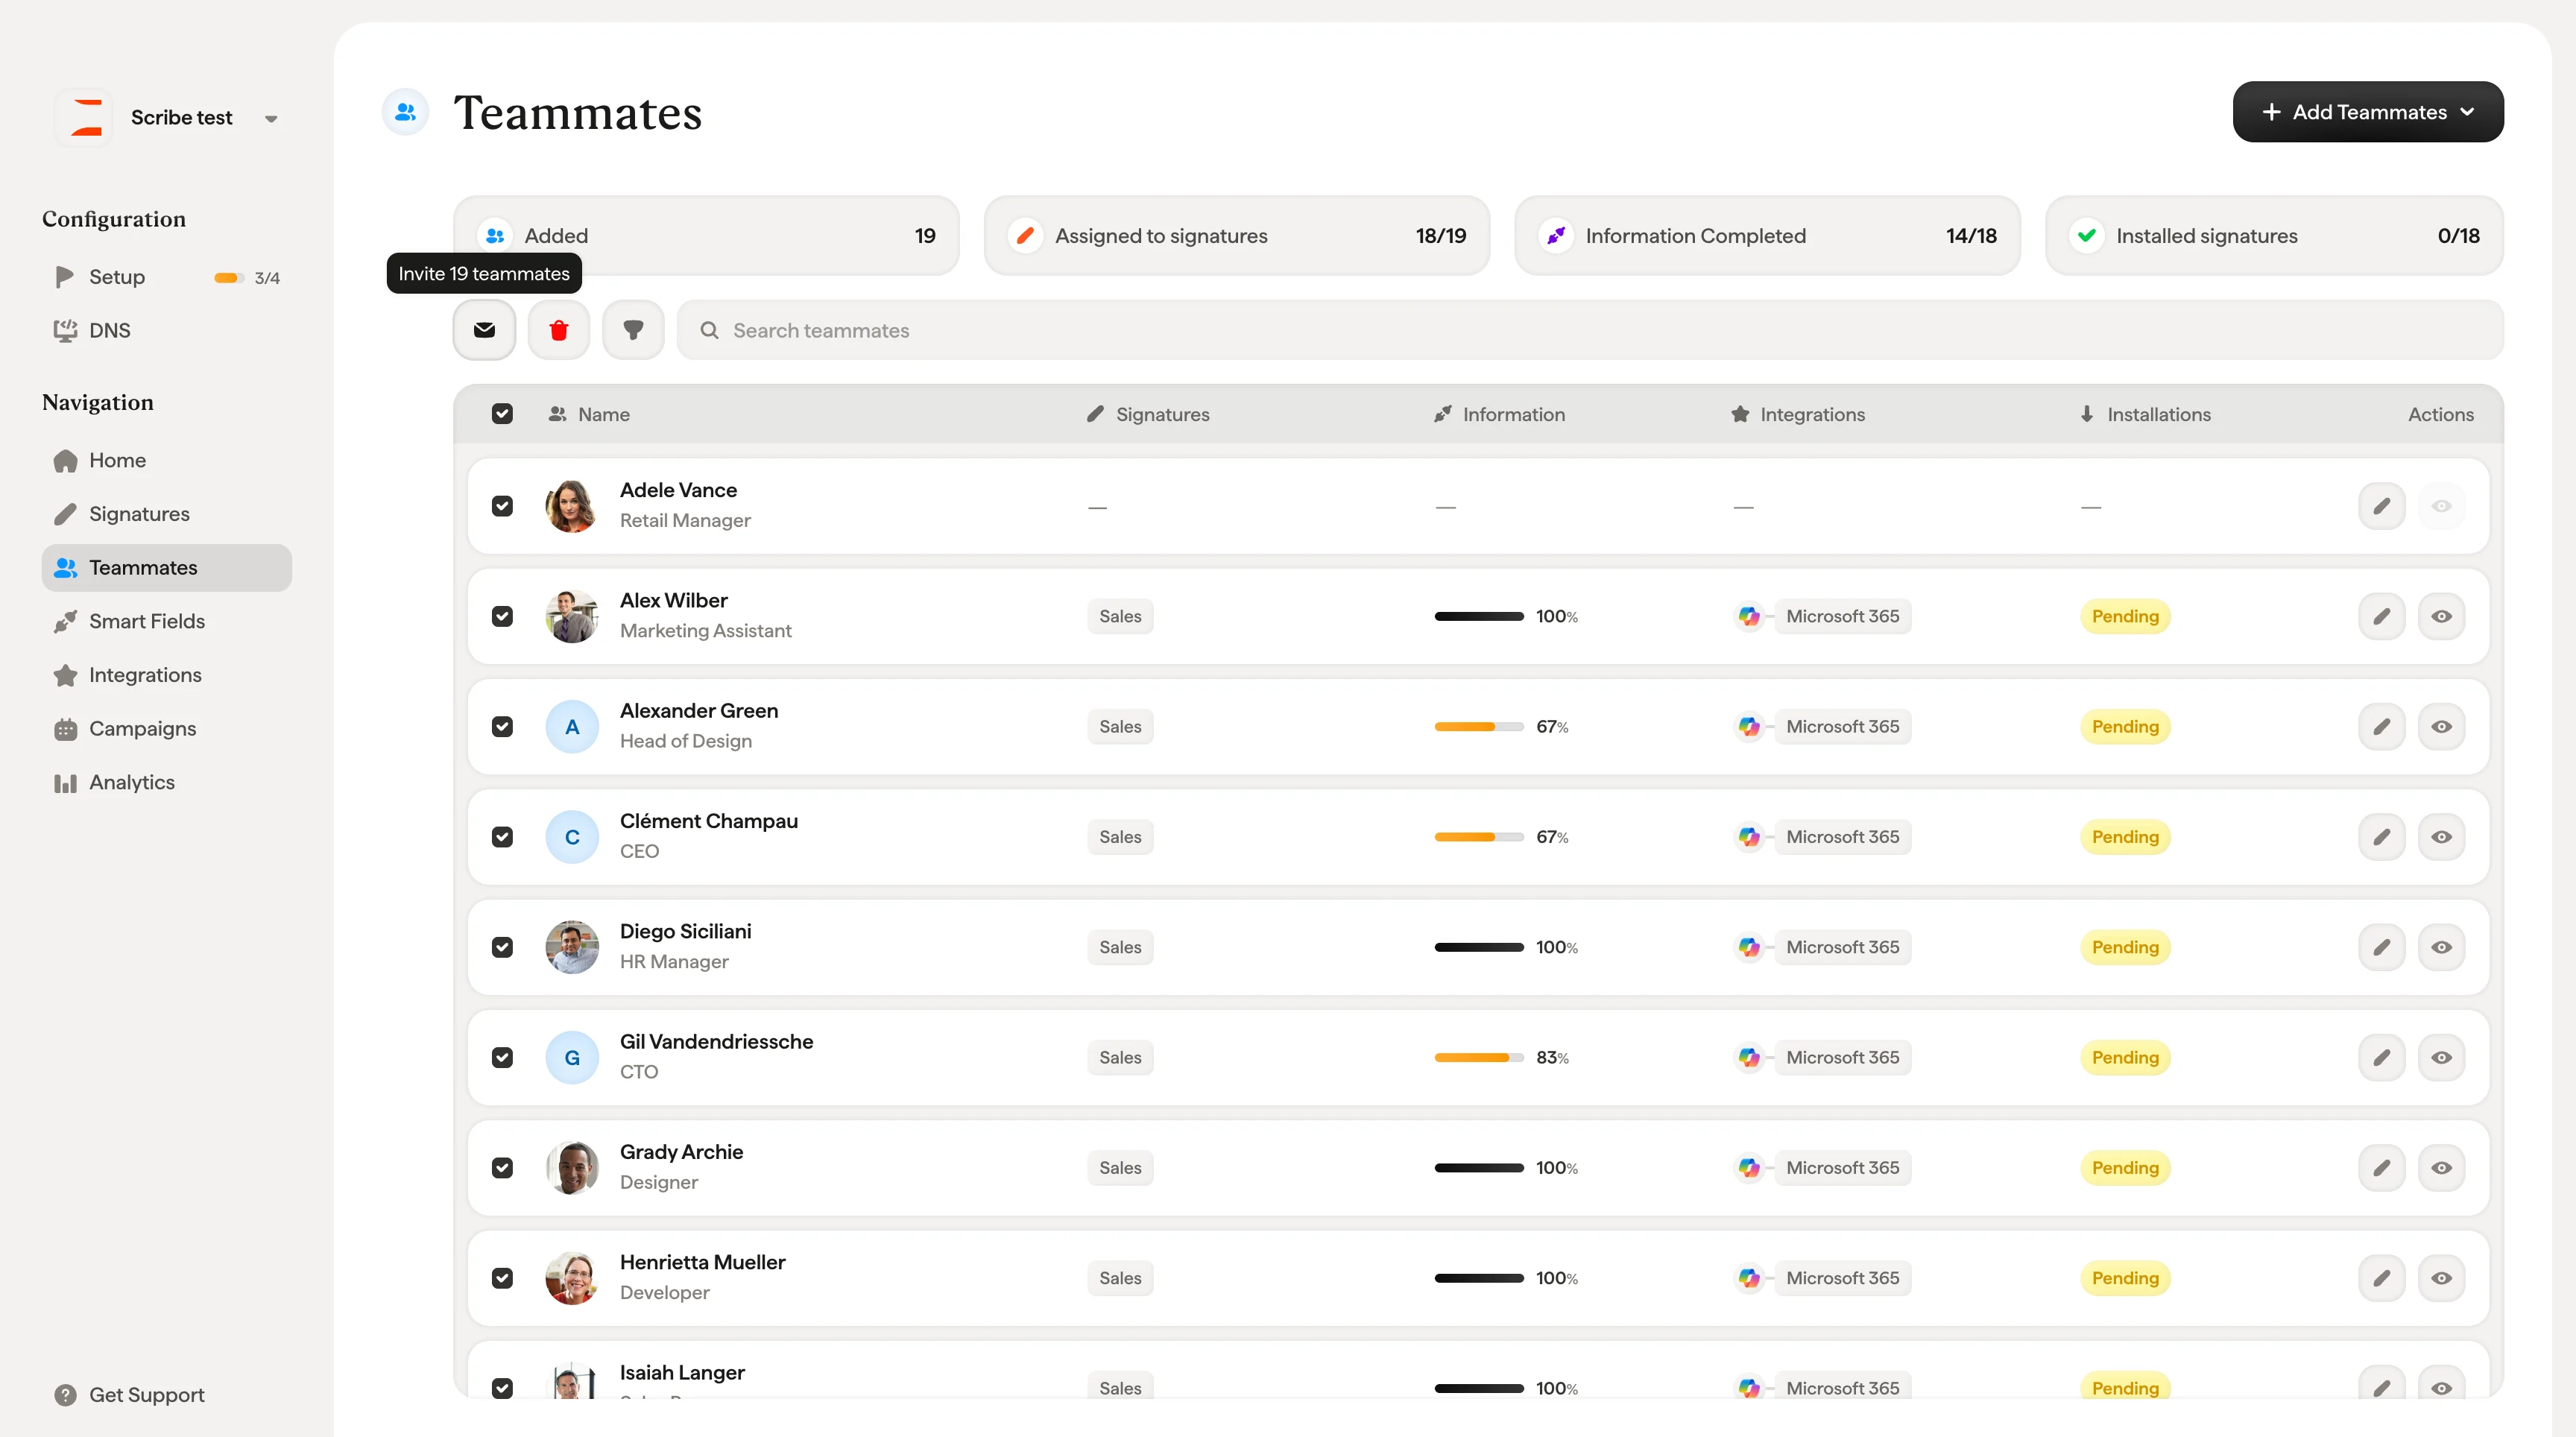
## 팀원을 초대해 HTML 설치하기
HTML을 직접 복사하는 대신, 팀원을 초대해 각자 서명을 설치하도록 할 수 있어요. 초대된 팀원은 자신의 서명에만 접근해 정보를 추가하고 설치할 수 있어요. Scribe 워크스페이스의 다른 영역에는 접근할 수 없어요.
사용 중인 이메일 플랫폼별 단계별 안내를 확인하세요:
Gmail에 서명 설치하기
Outlook에 서명 설치하기
## 팀원을 초대해 HTML 설치하기
HTML을 직접 복사하는 대신, 팀원을 초대해 각자 서명을 설치하도록 할 수 있어요. 초대된 팀원은 자신의 서명에만 접근해 정보를 추가하고 설치할 수 있어요. Scribe 워크스페이스의 다른 영역에는 접근할 수 없어요.

 초대된 팀원은 정보를 추가하고 설치할 수 있도록 본인의 서명에만 접근할 수 있어요. Scribe 워크스페이스의 다른 영역에는 접근할 수 없어요.
초대된 팀원은 Scribe 설정의 Members 탭에서 관리할 수 있어요.
초대된 팀원은 정보를 추가하고 설치할 수 있도록 본인의 서명에만 접근할 수 있어요. Scribe 워크스페이스의 다른 영역에는 접근할 수 없어요.
초대된 팀원은 Scribe 설정의 Members 탭에서 관리할 수 있어요.