Configuring your DNS is an important step to ensure your email signatures don’t trigger spam filters. It takes about 5 minutes and doesn’t require a developer — Scribe’s setup wizard handles most of it automatically.Documentation Index
Fetch the complete documentation index at: https://help.scribe-mail.com/llms.txt
Use this file to discover all available pages before exploring further.
Why configure DNS?
Your Scribe email signatures contain multiple URLs — logos, profile pictures, social icons, website links, campaign banners, and tracking links. By default, these URLs use Scribe’s domain (sendassets.io).
The problem: spam filters flag emails that contain many URLs pointing to a domain different from the sender’s email domain. If your team sends from @yourcompany.com but all signature links point to sendassets.io, deliverability can suffer.
The fix: replace Scribe’s default domain with a subdomain of your own, like signature.yourcompany.com. This is called a sending domain. It tells spam filters that the links in your emails belong to your organization — keeping your emails out of spam folders.
For example, if your team sends from joe@my-company.com, you would configure a sending domain like signature.my-company.com.
How to set it up
Go to the DNS tab
In your Scribe dashboard, navigate to Settings → DNS. If you’ve already synced your email provider, your domain will appear automatically — click Configure. Otherwise, click Add a domain.
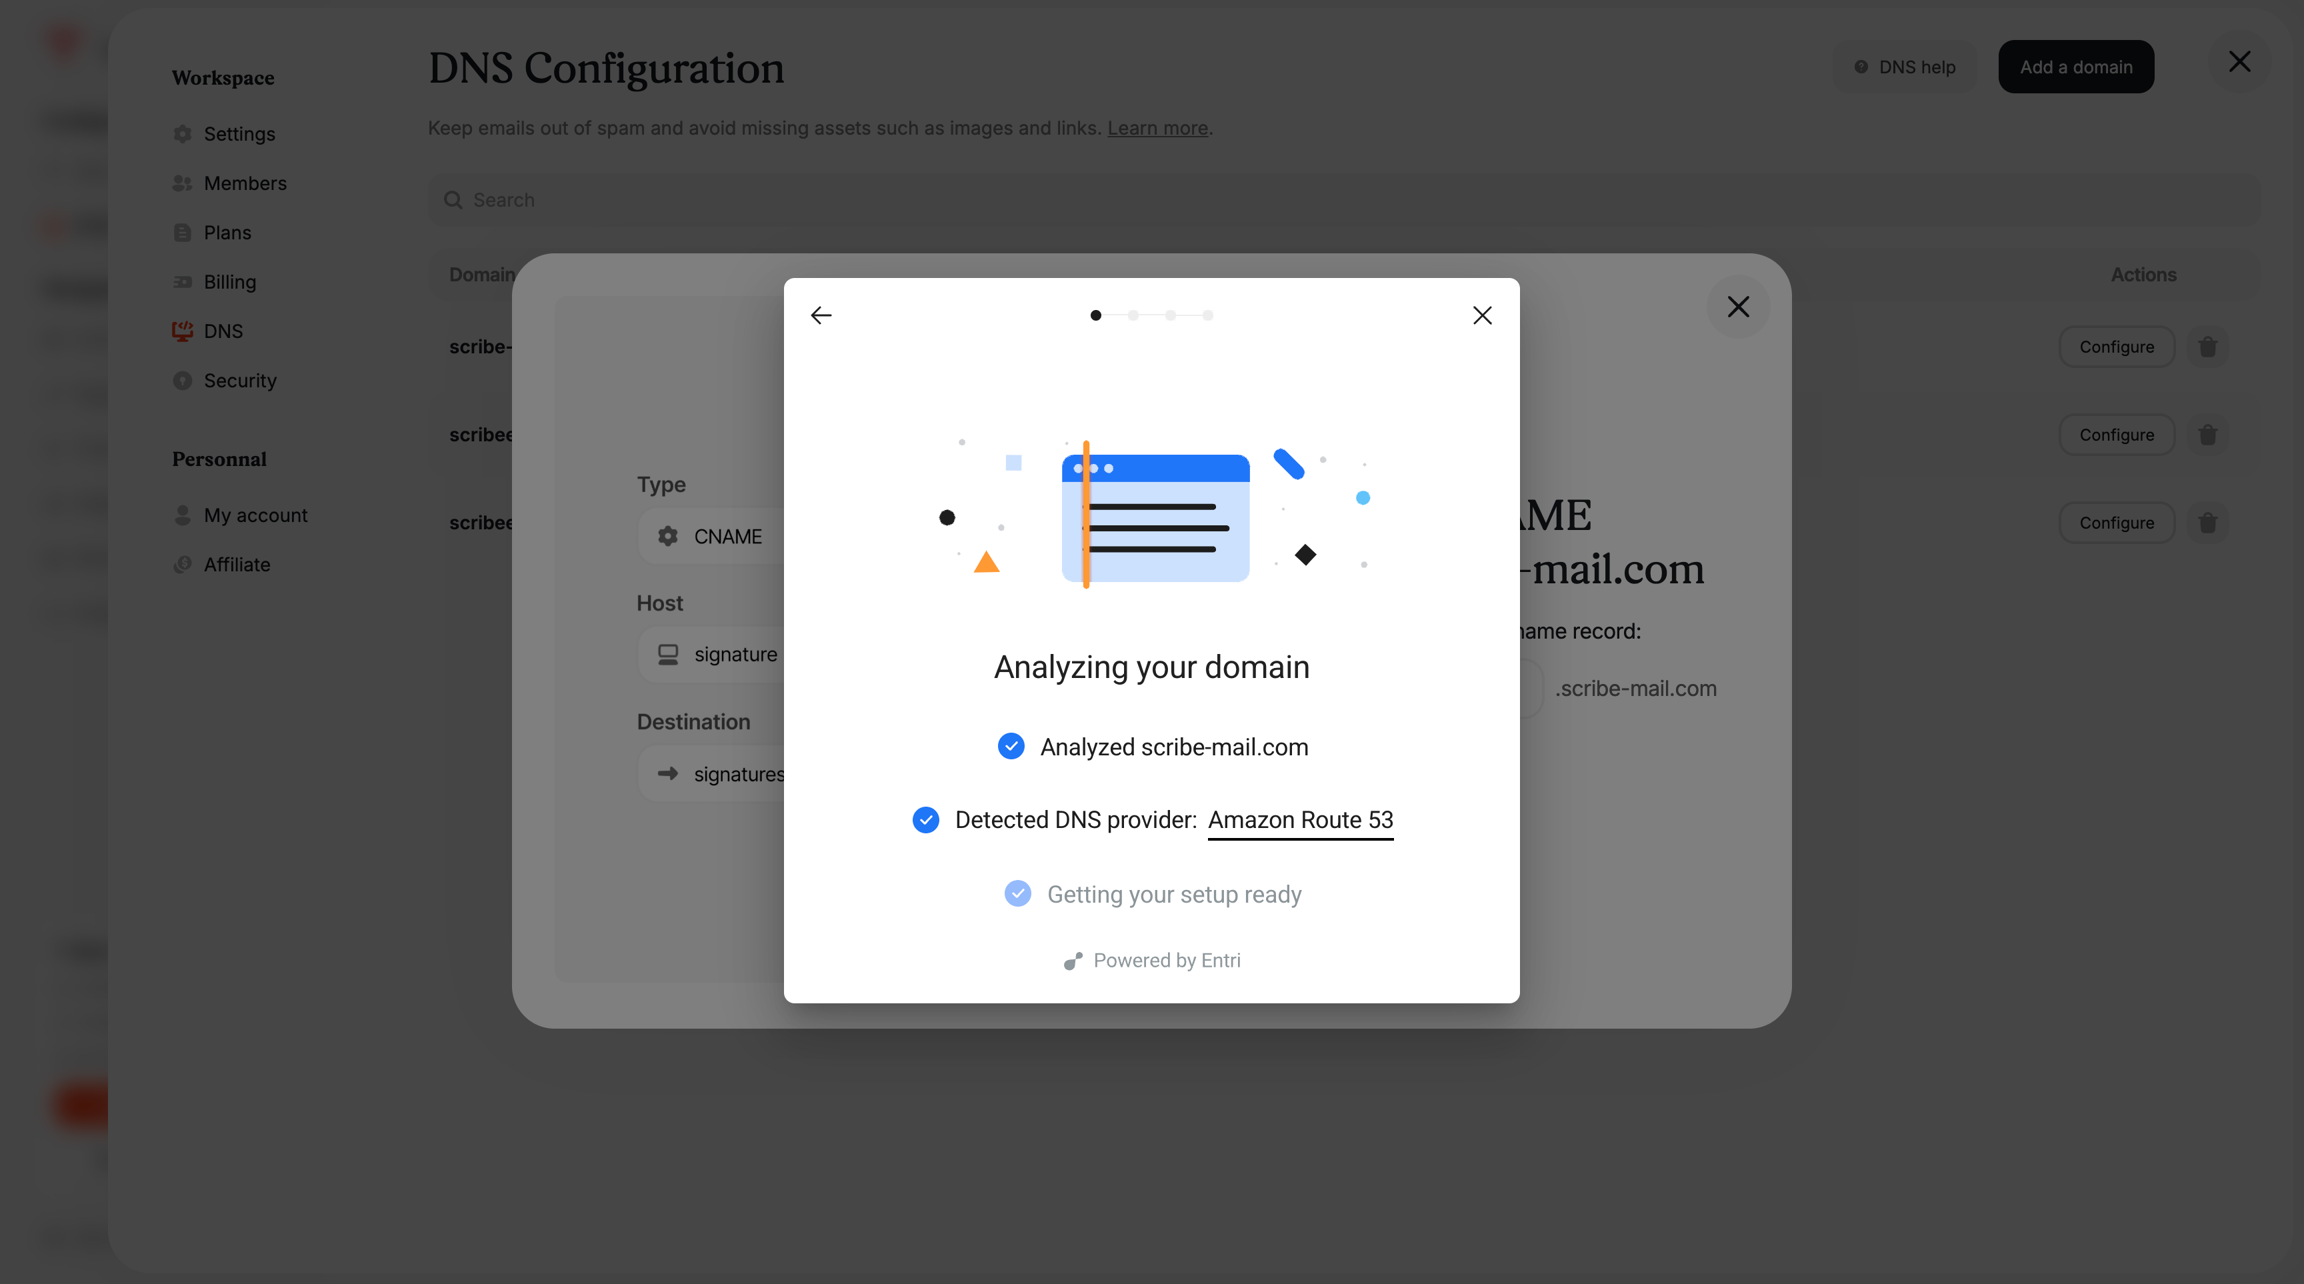
Choose a CNAME record
Pick a subdomain prefix for your sending domain. For example,
signature would create signature.mycompany.com. Other common choices include email or mail-assets.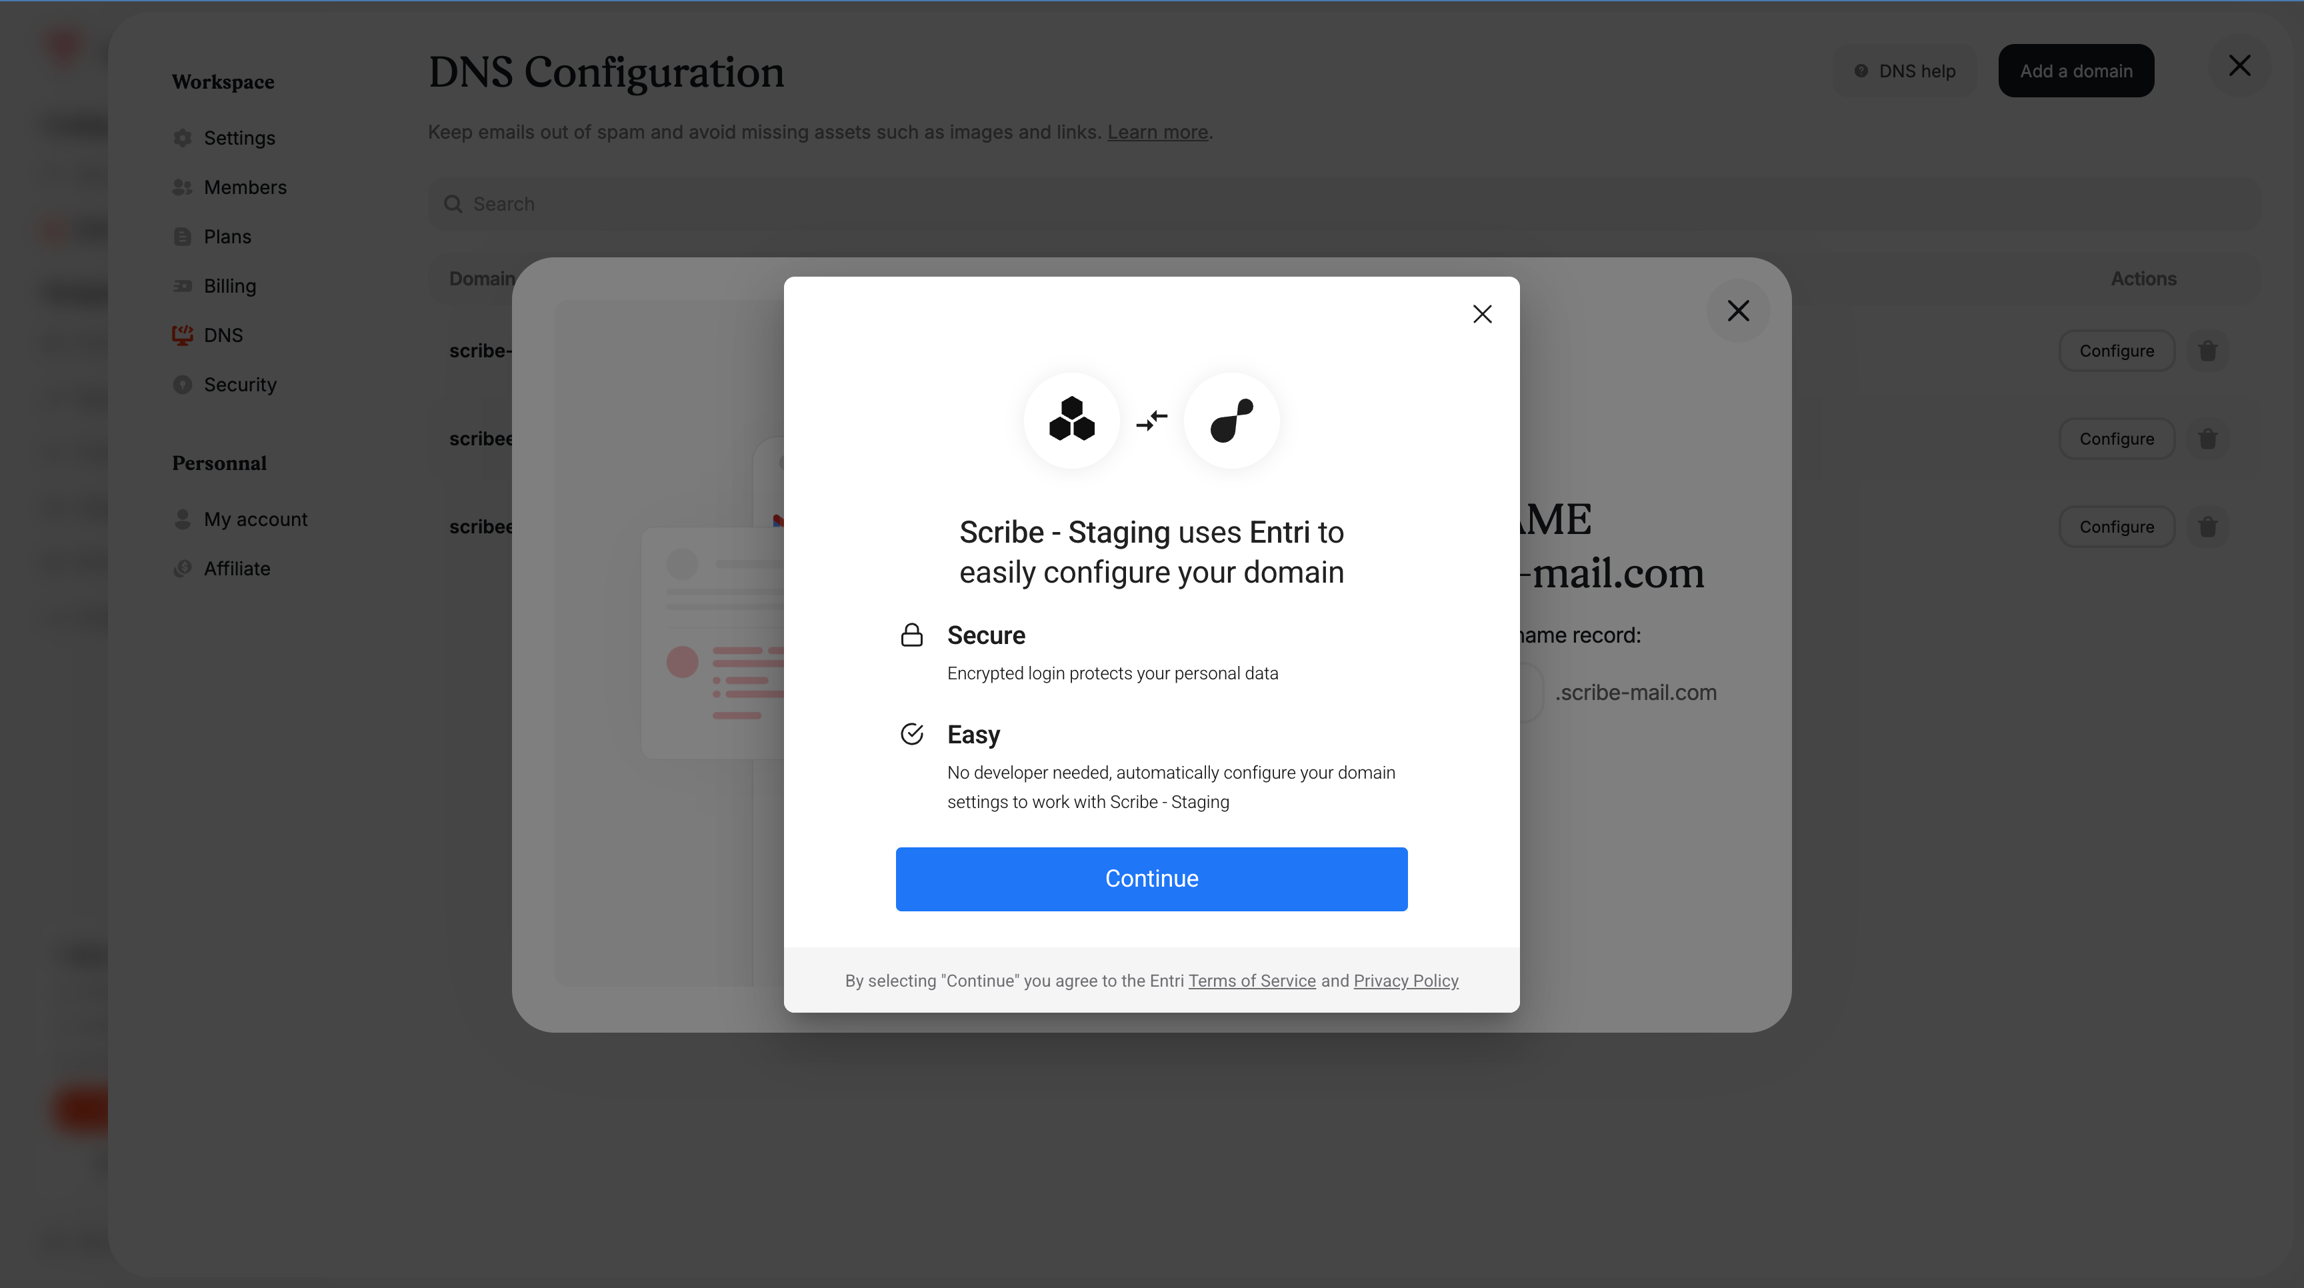
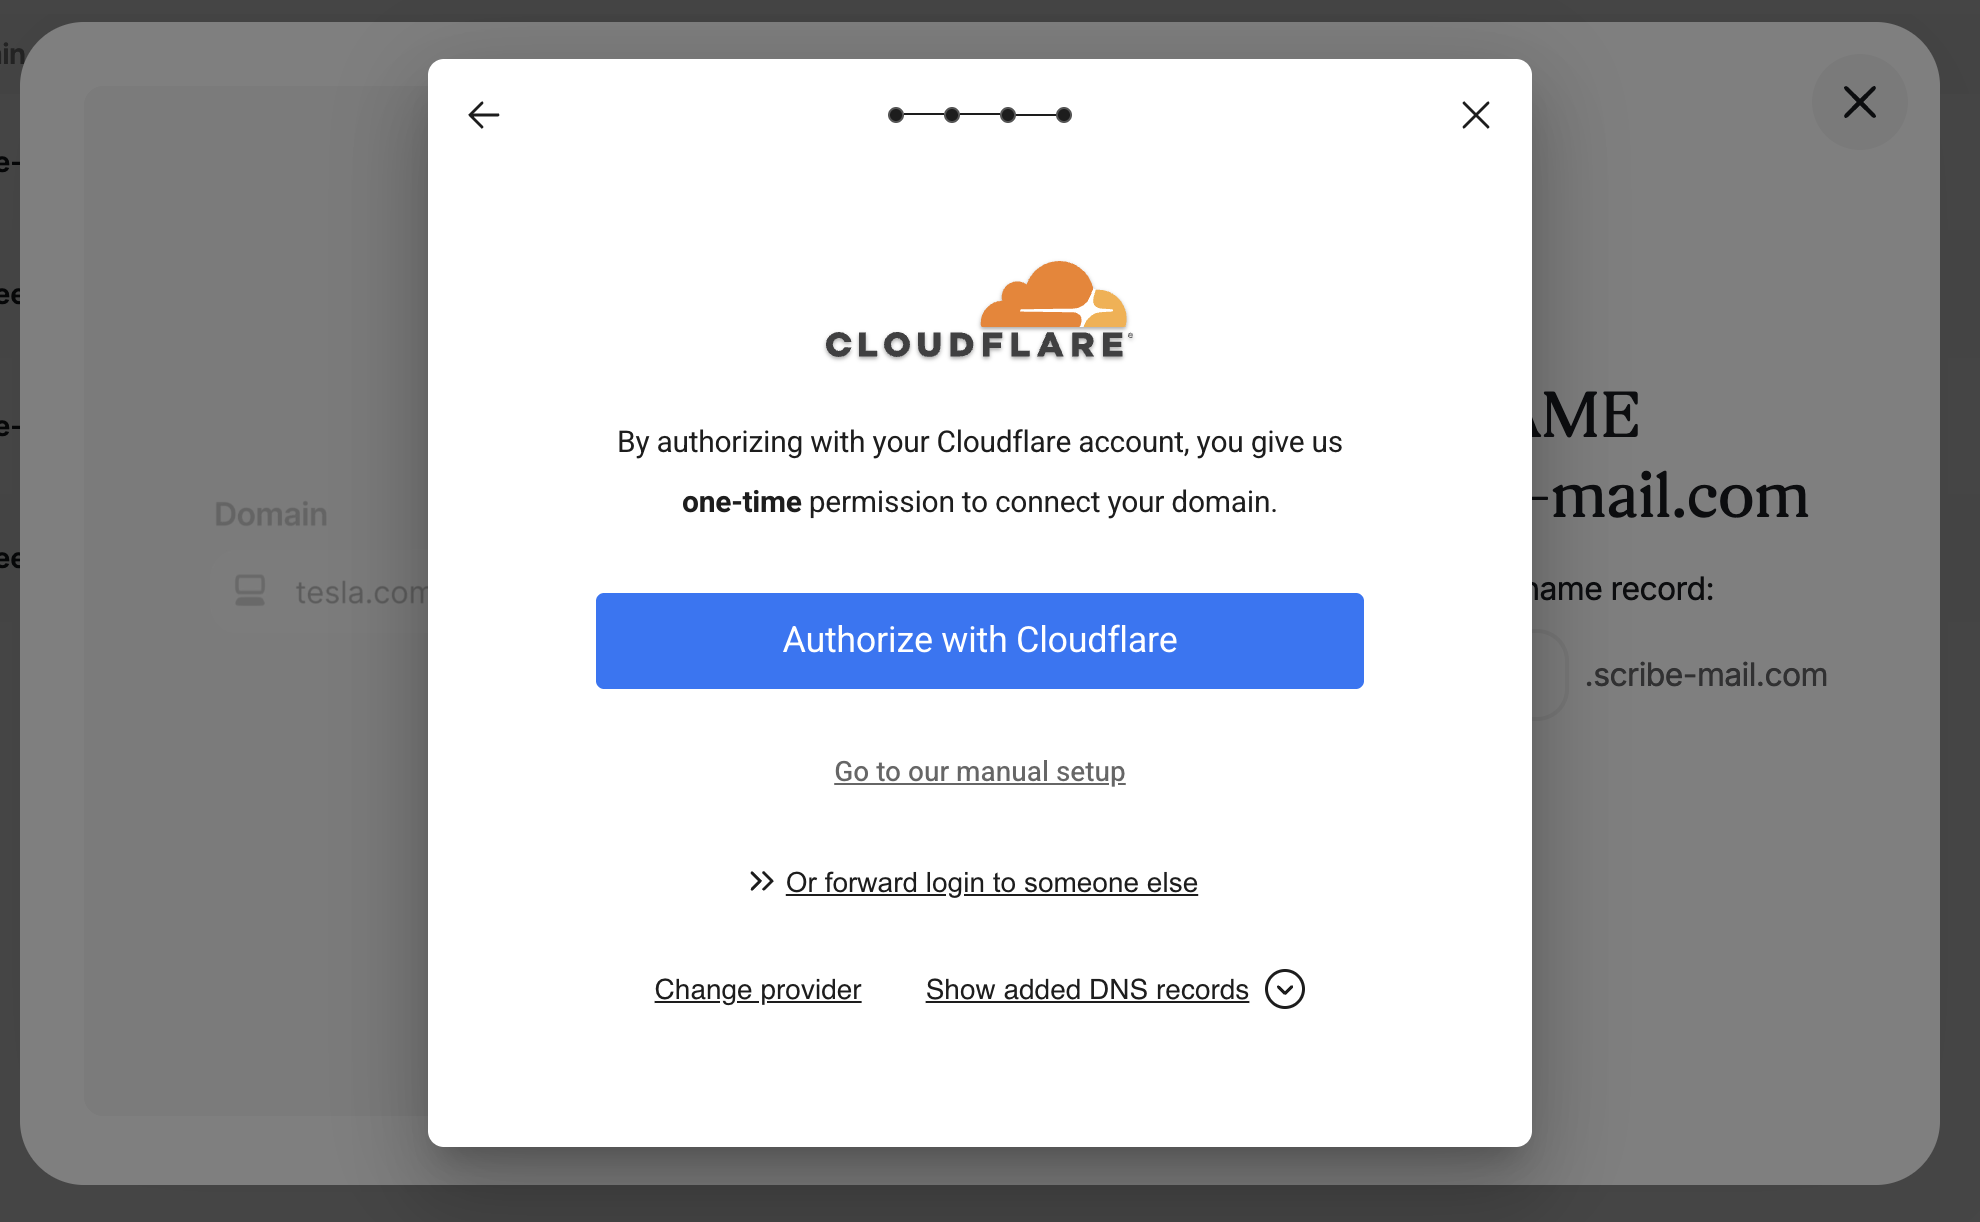
After setup
Once configured, DNS propagation can take up to 24 hours. You can check the status in two ways:- In your Scribe dashboard under Settings → DNS — the status will change to Validated once propagation is complete
- Using an external tool like dnschecker.org
DNS settings reference
Full DNS configuration details and troubleshooting