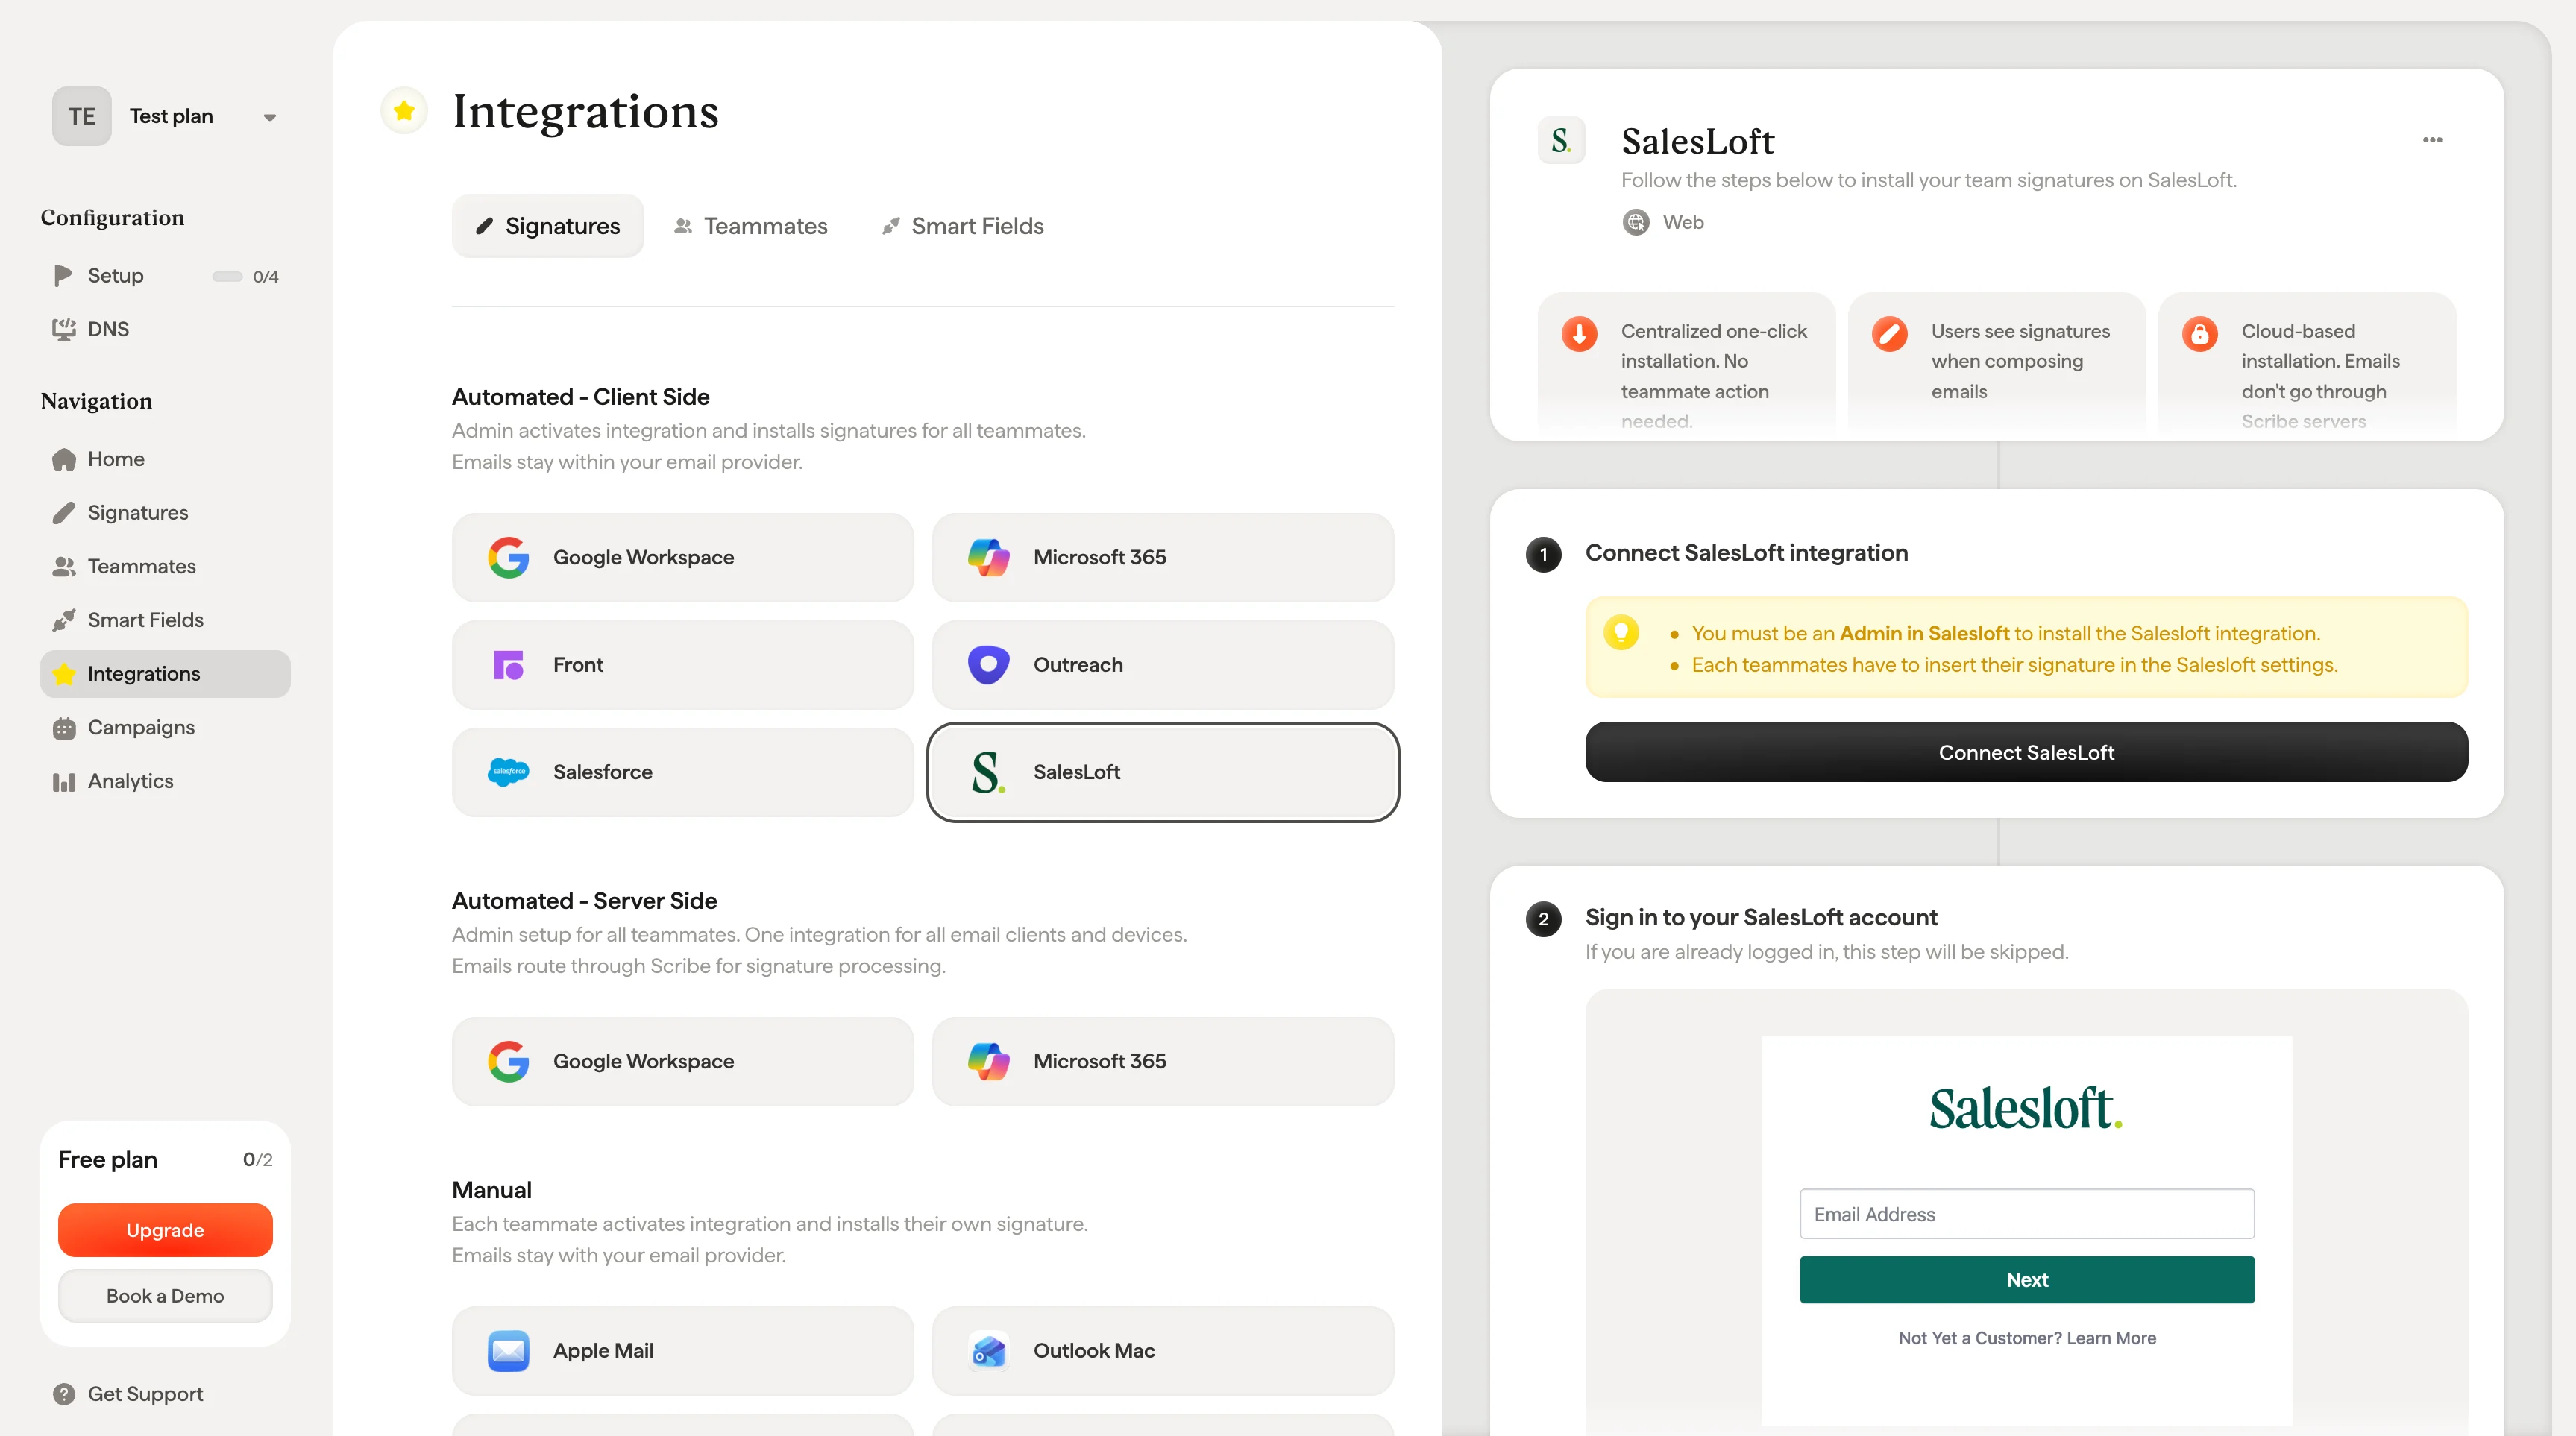
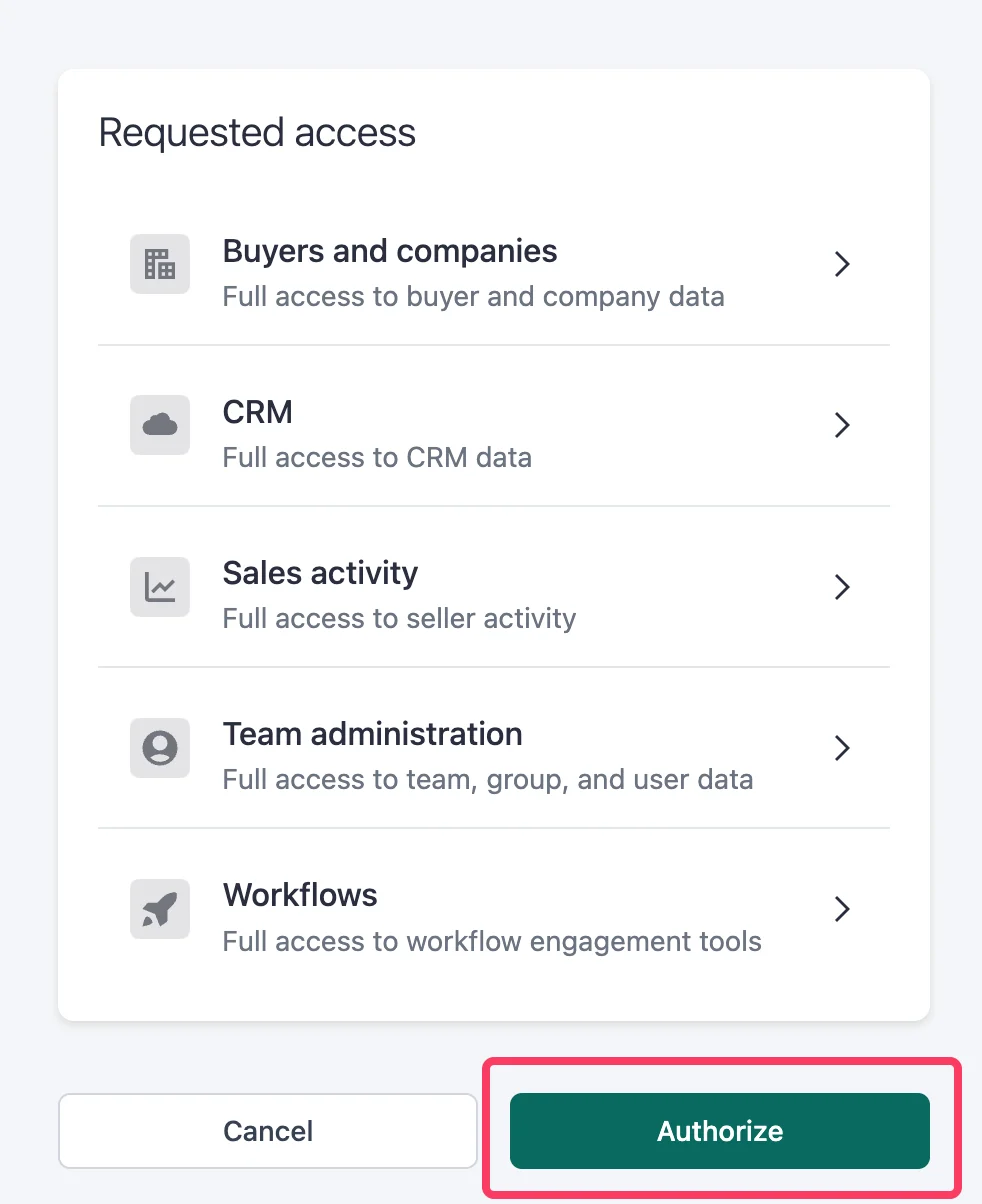
Set up Scribe email signatures in Salesloft: connect the integration as an admin, then each teammate inserts their own signature from Salesloft settings.
Each teammate inserts their own signature. After you connect the integration, every teammate adds their signature from their Salesloft settings. Users see signatures when composing emails. Cloud-based installation: emails don’t go through Scribe servers.
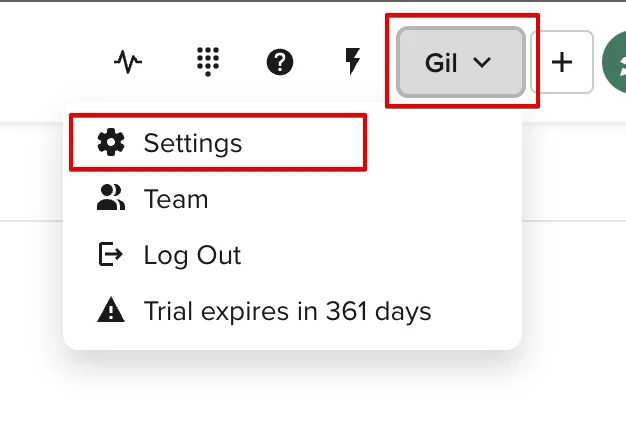
Navigate to your SalesLoft account, click on your name, and select “Settings”.
SalesLoft user menu with Settings option
6
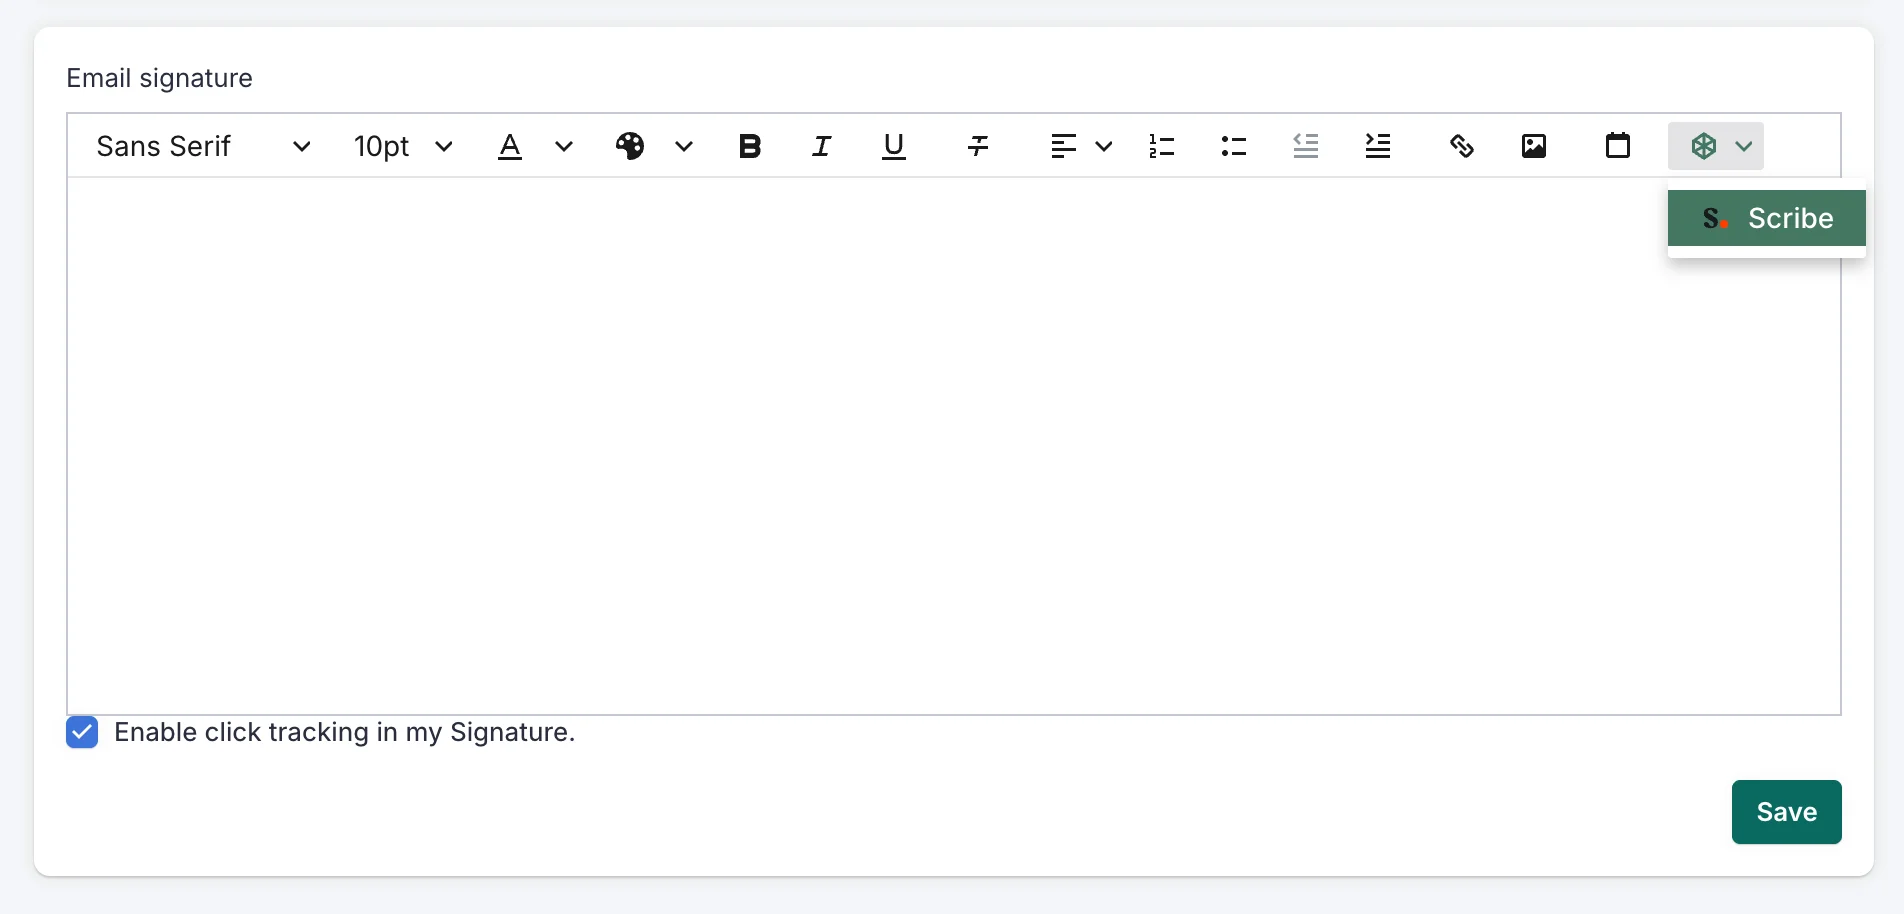
Open the Scribe modal
In the Email Signature section, open the Scribe Modal.
SalesLoft Email Signature section with Scribe button
7
Insert your signature
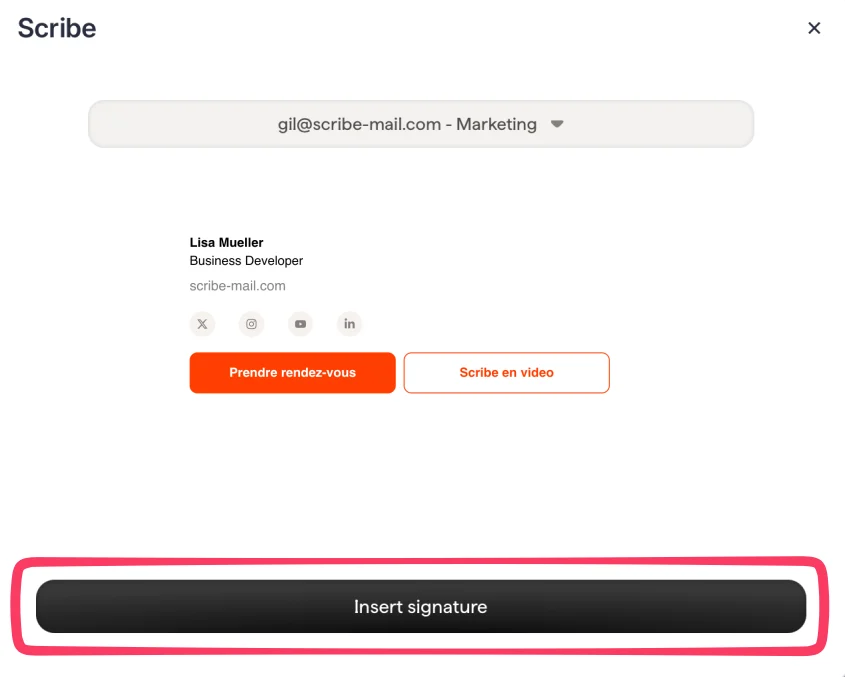
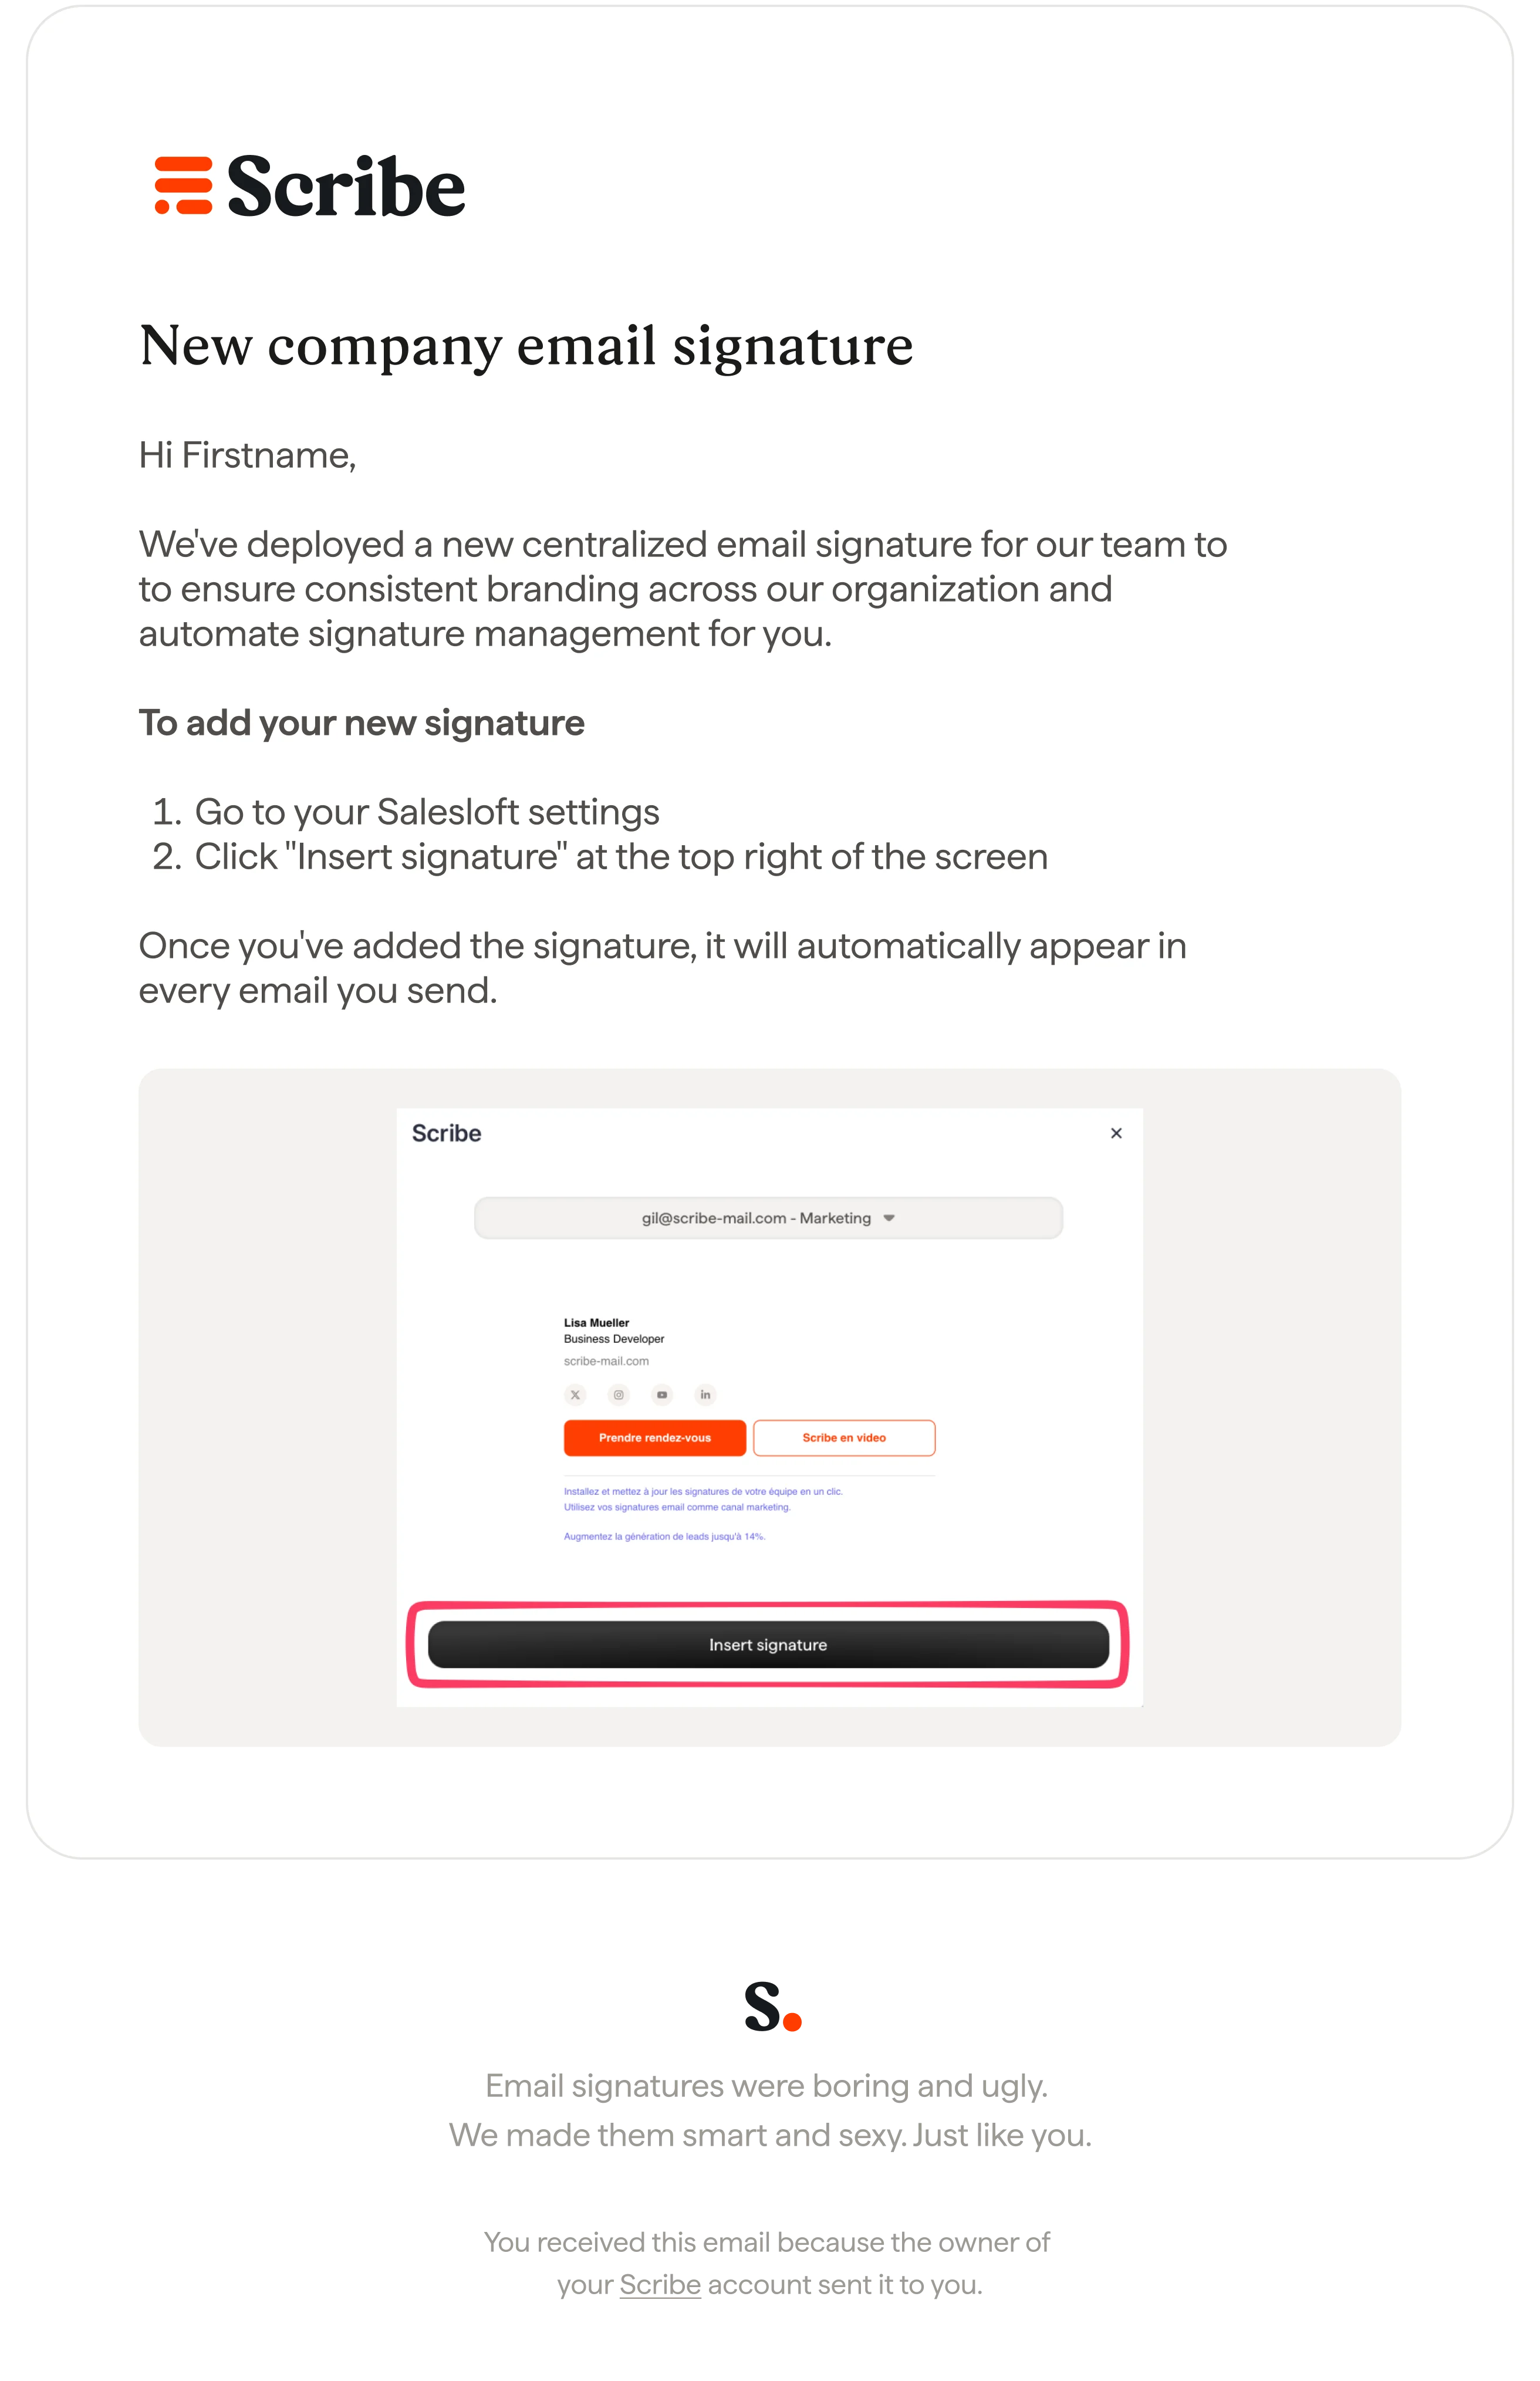
Choose the email you want and click “Insert signature”. Note that each of your teammates would have to go to their SalesLoft settings to click on “Insert signature”.
Scribe modal with signature preview and Insert signature button